1. Registration/Login
The first step on the submission process is to register a user to enter the RPS application. On the
MAIN page, click the
REGISTER button. The
REGISTER NEW USER page will appear, divided in two sections:
REGISTER NEW USER and
PRINCIPAL INVESTIGATOR INFORMATION.
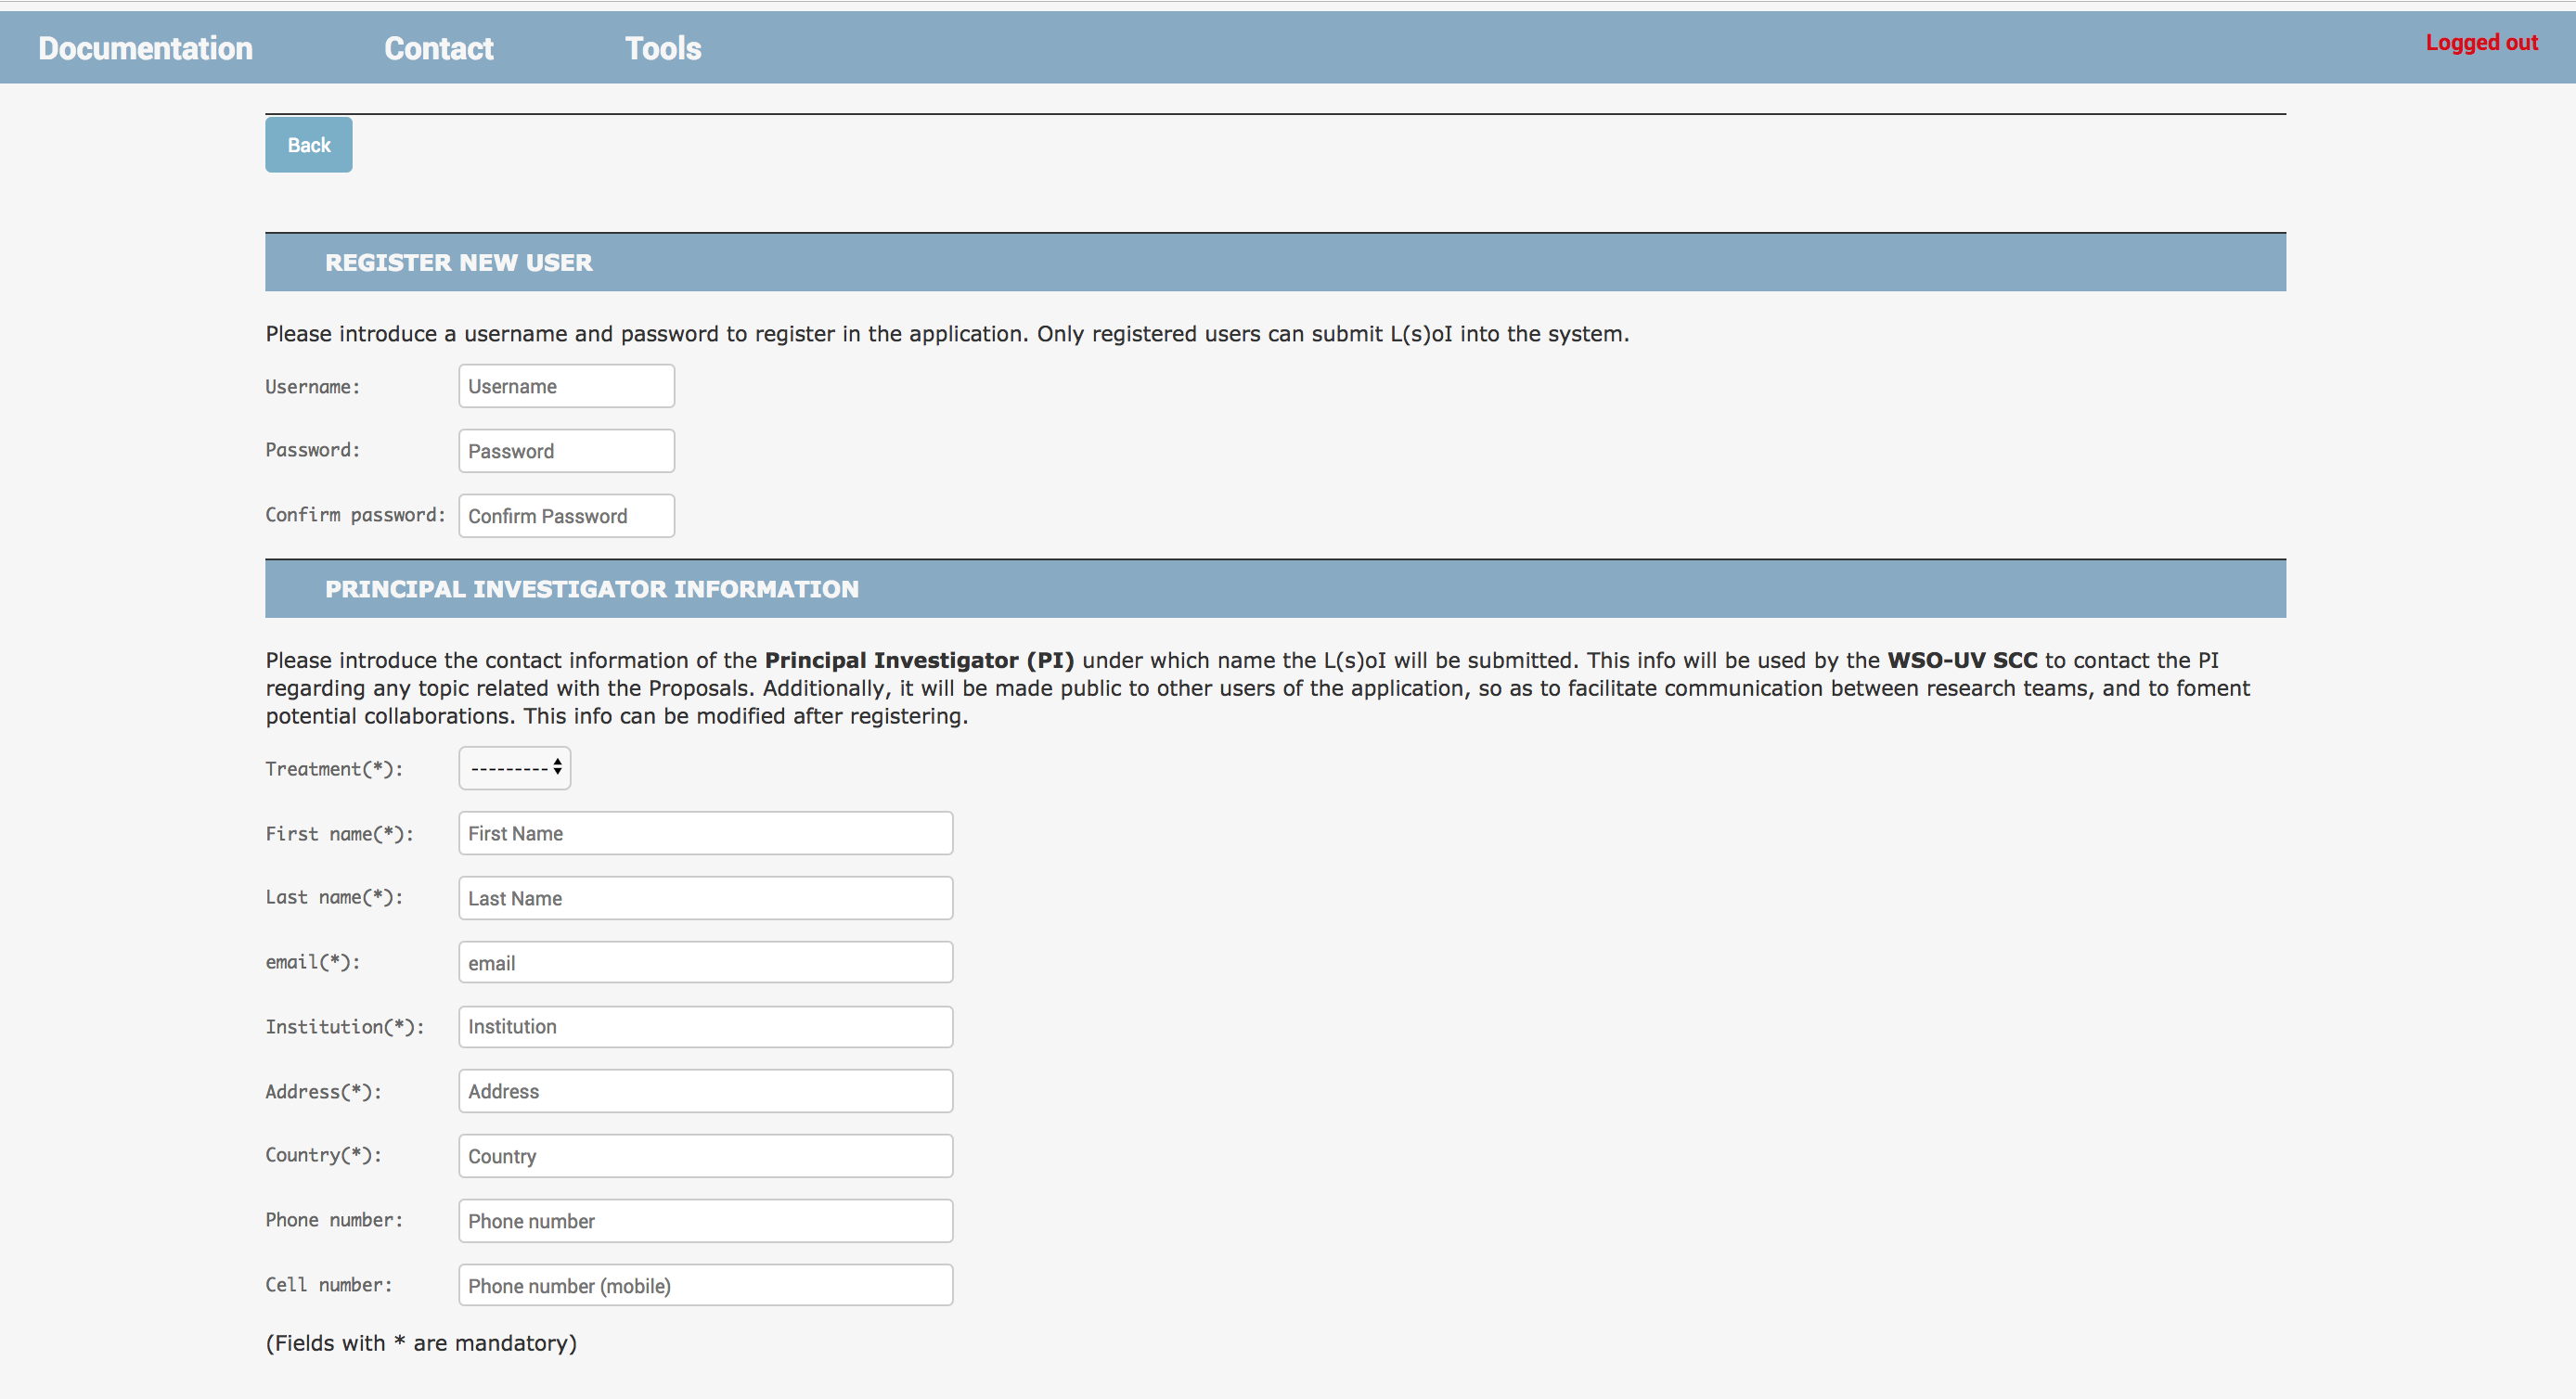 Fig 1. REGISTER NEW USER page
The first section asks you to introduce your
USERNAME,
PASSWORD, and
PASSWORD CONFIRMATION. These data will be unique to you, and will be the information you will use to log in the application.
The second section refers to the personal information of the Principal Investigator (PI) under whose name the Letters of Intent (Proposals) will be submitted. You should introduce a
FIRST NAME,
LAST NAME,
E-MAIL,
INSTITUTION,
ADDRESS,
COUNTRY,
PHONE NUMBER, and
CELL NUMBER. The
E-MAIL field has to have the following format, or an error will pop up:
emailaddress@XXX.YYY
This information will be used as contact information by the Time Allocation Committee (TAC) to get in touch with the PI regarding any issue about the Proposals, and eventually to inform about the acceptance or rejection of the proposals. All these data,
CAN BE MODIFIED at a later time by the user.
Once the user has introduced all the information required, the user has to give explicit consent to the data protection and management regulation:
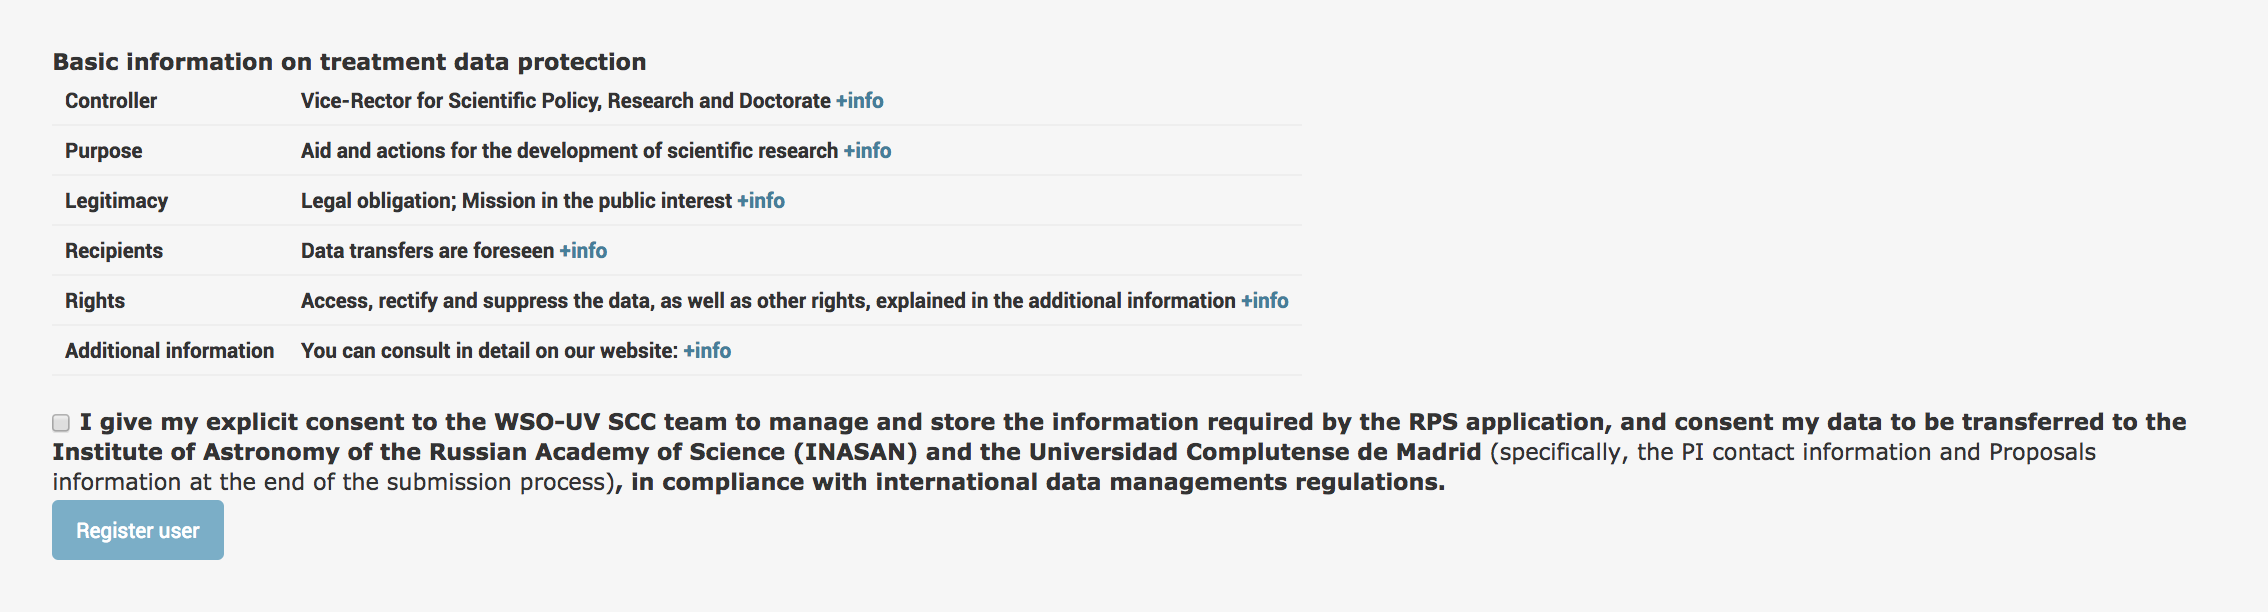 Fig 2. Data Regulation consent requirement
Clicking on the
REGISTER USER button will create a new user in the database.
If you already have a registered user in the system, you can access the application in the
LOG IN page.
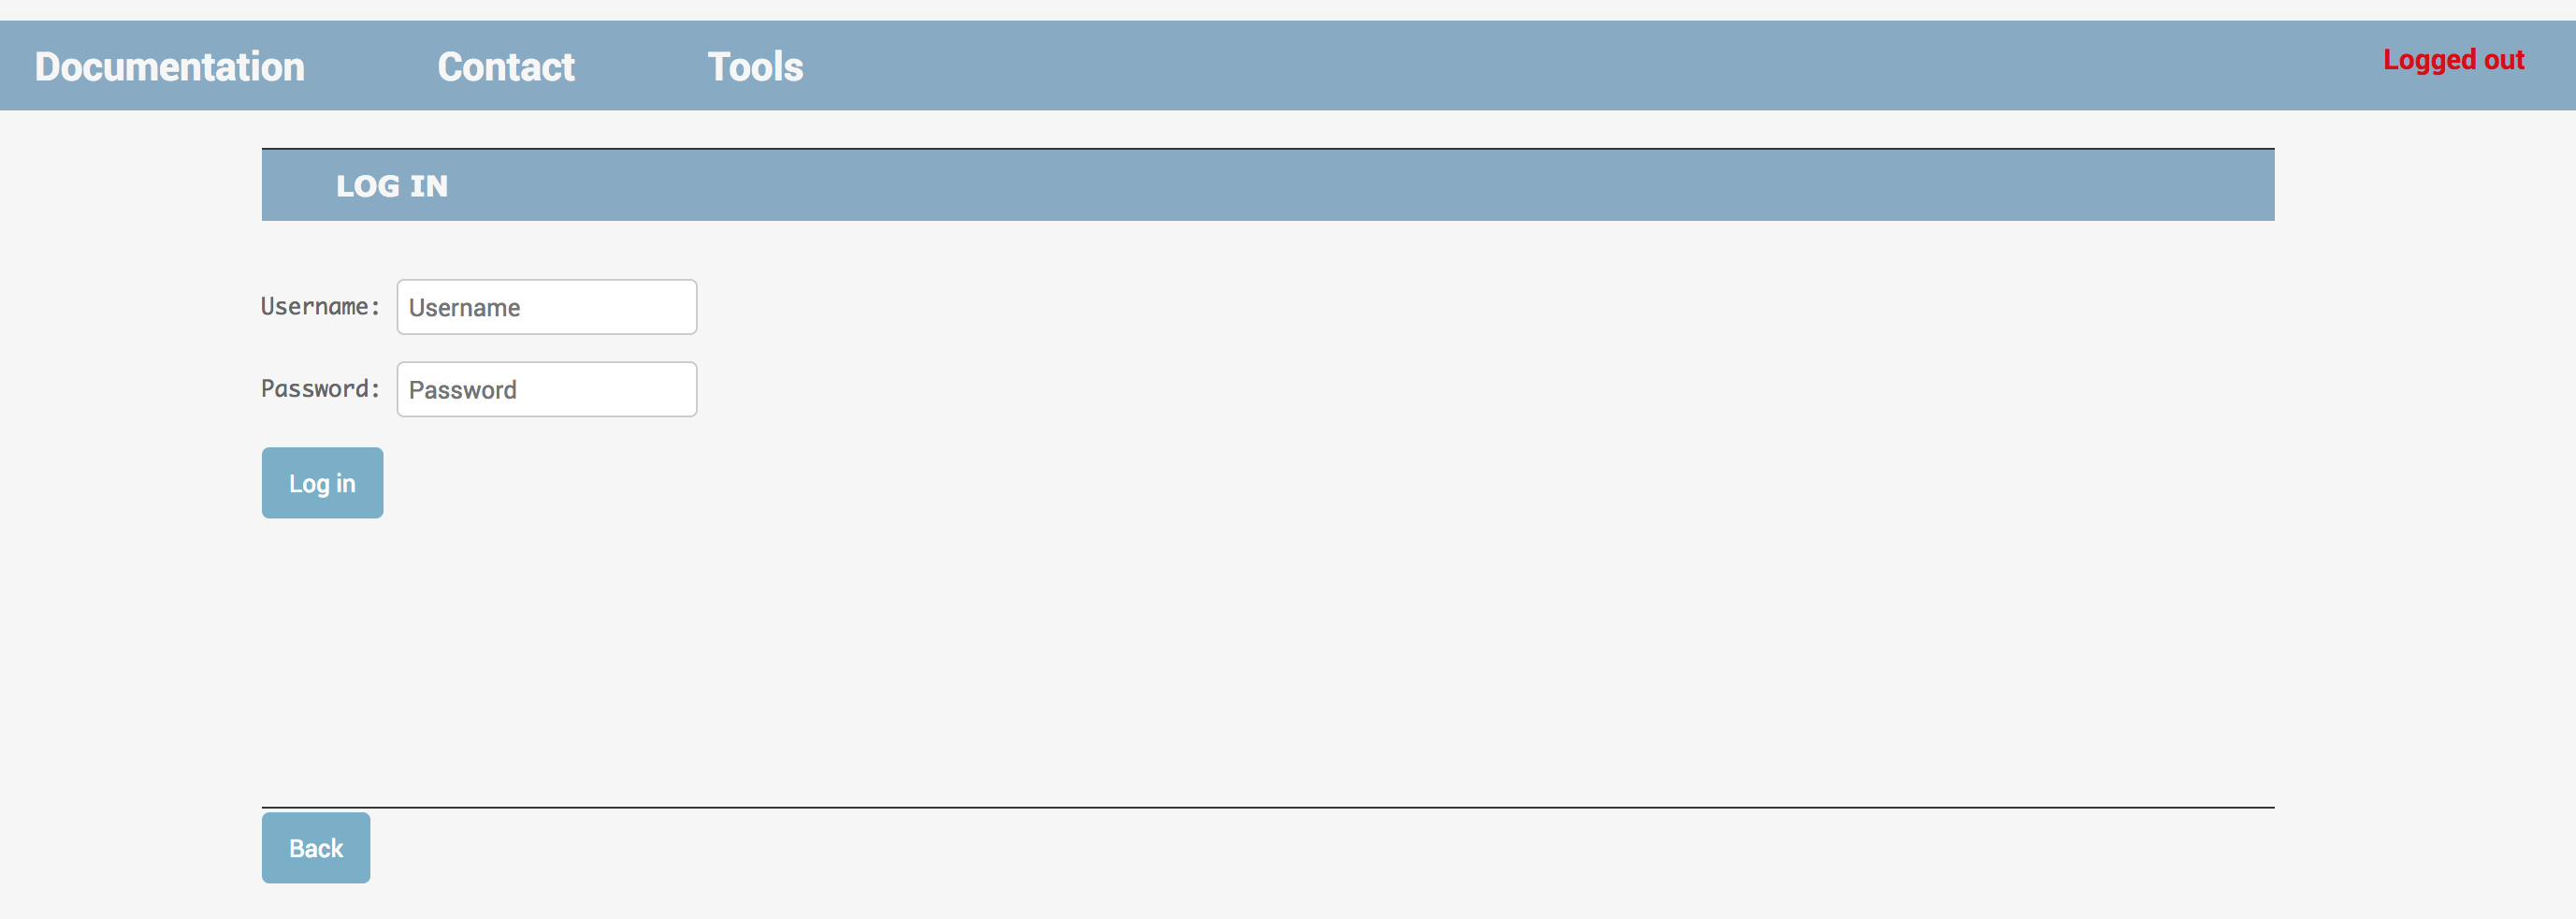 Fig 3. LOG IN page
Introduce your
USERNAME and
PASSWORD, and click the
LOG IN button (or press
ENTER in your keyboard) to log into the application.
Go up
2. Choose application
After registering a new user or logging in to an existing account, you will get to the
CHOOSE APPLICATION page. This page serves as the main site from which to access the RPS and the scientific tools associated with the Core Program Call for Proposals.
It is divided in three parts: the
PRINCIPAL INVESTIGATOR information on top, the
REMOTE PROPOSAL SYSTEM access section in the middle, and the
SUPPORT TOOLS FOR THIS CALL access section below.
The PI information is divided in
PERSONAL INFORMATION and
CONTACT INFORMATION , represented by disabled (not editable) text fields.
 Fig 4. CHOOSE APPLICATION page - User information
The PI information submitted in the registration process can be modified by pressing the
MODIFY USER INFO button on the top section of the
USER page. The
MODIFY USER page will appear, in which you can edit any information you want to update.
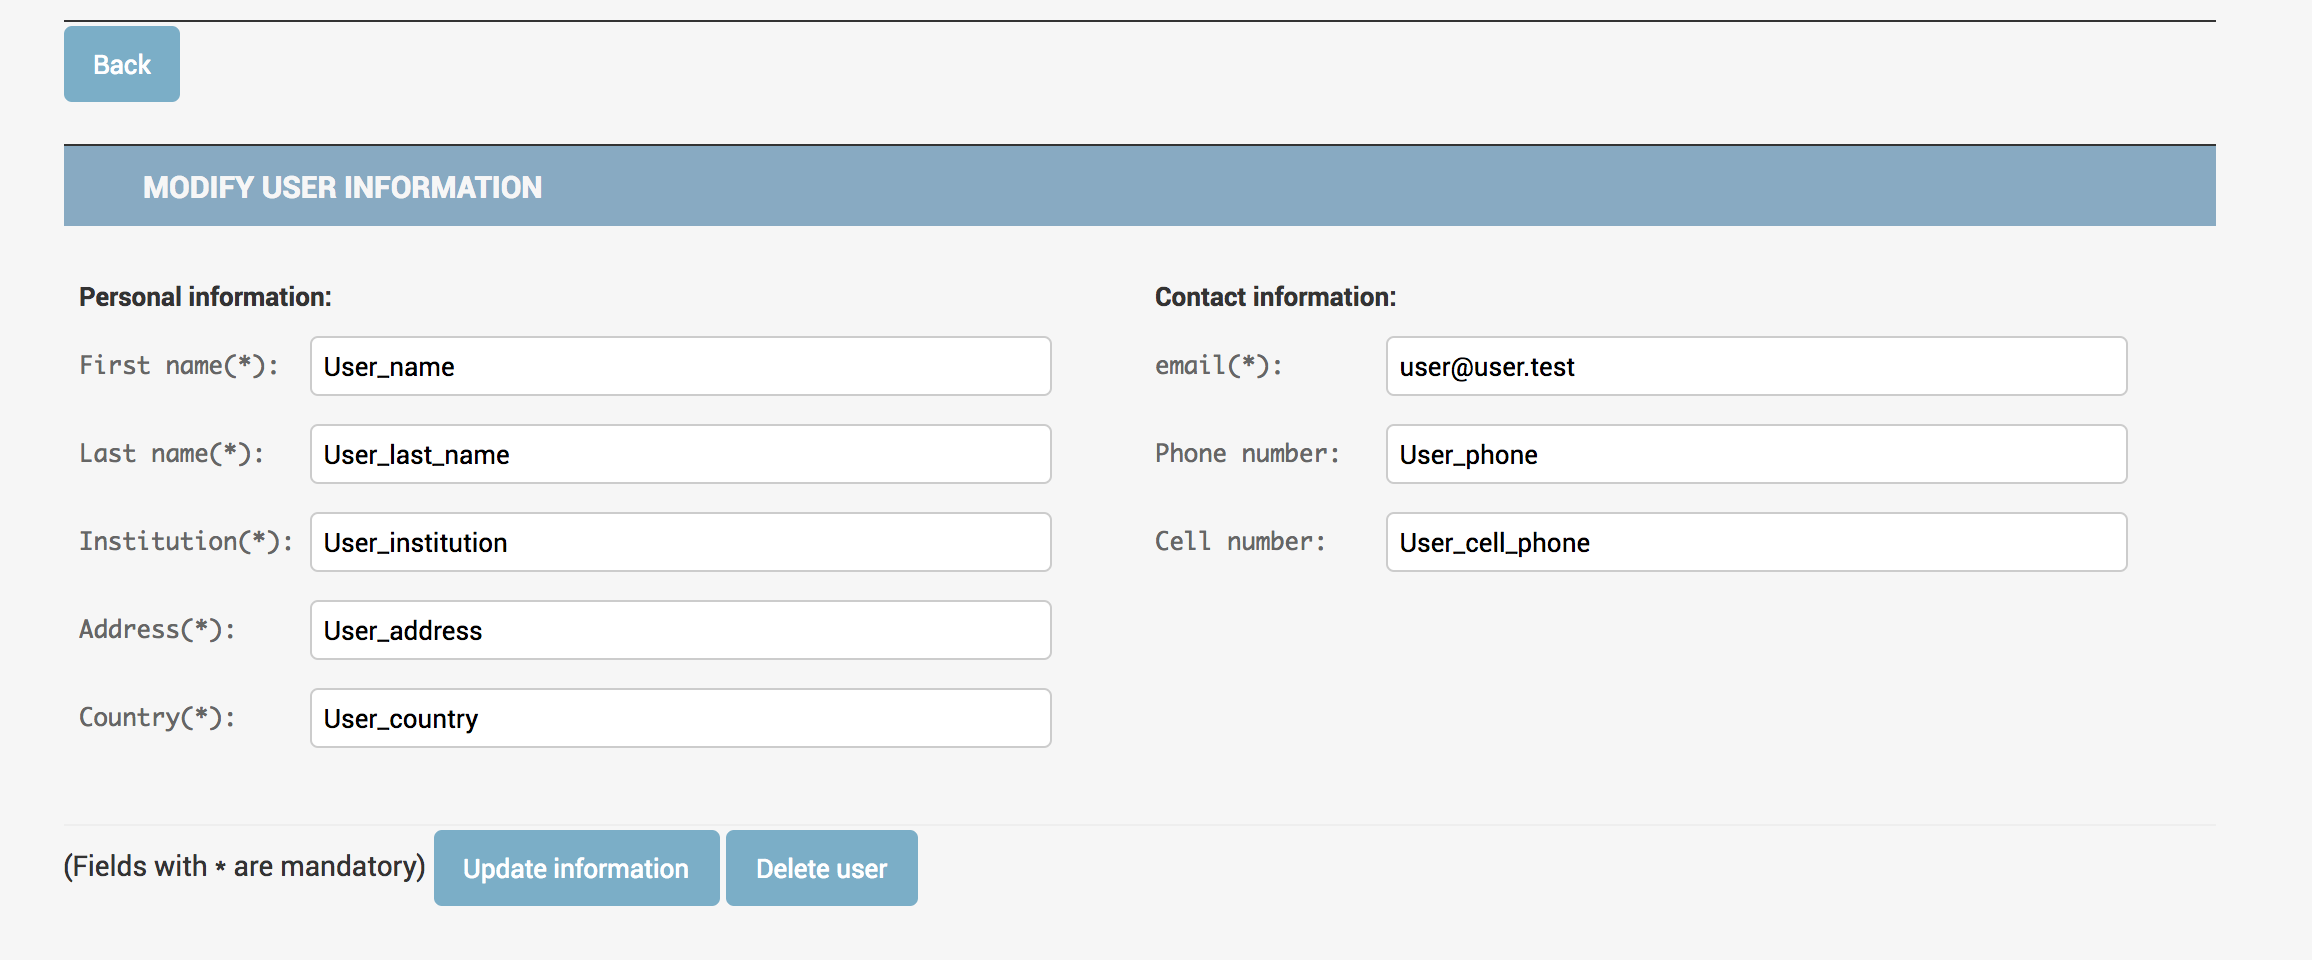 Fig 5. MODIFY USER page
It has the same format as the
PRINCIPAL INVESTIGATOR information section of the
USER page, but now the fields are not disabled, and they can be edited. Pressing the
UPDATE INFORMATION button will save into the database the information currently present in each of the fields.
Additionally, the user info can be deleted, by pressing the
DELETE USER button. A confirmation window will pop up when the button is pressed, as a security measure.
WARNING: Deleting a user will erase all the information linked to it, including all the Proposals, submitted or in process of submission, created by her/him. THIS STEP CAN NOT BE UNDONE. Use with caution.
Back to the
CHOOSE APPLICATION page, in the middle you can access the
REMOTE PROPOSAL SYSTEM by clicking the button. Notice that only users who submitted a letter of intent in the previous Call can access the RPS for this Call. In case you did not submit any LoI, then you will have to wait for future Calls for Proposals to submit your own. Below, the user has access to the
SUPPORT TOOLS FOR THIS CALL, that is, the
FCU SIMULATOR and the FCU EXPOSURE TIME CALCULATOR. Click the corresponding button to access these tools. You do not need to have submitted a LoI in the previous Call to access these tools, they are accessible to everyone.
Each of these tools has each own
USER'S MANUAL, accessible from their corresponding Documentation areas.
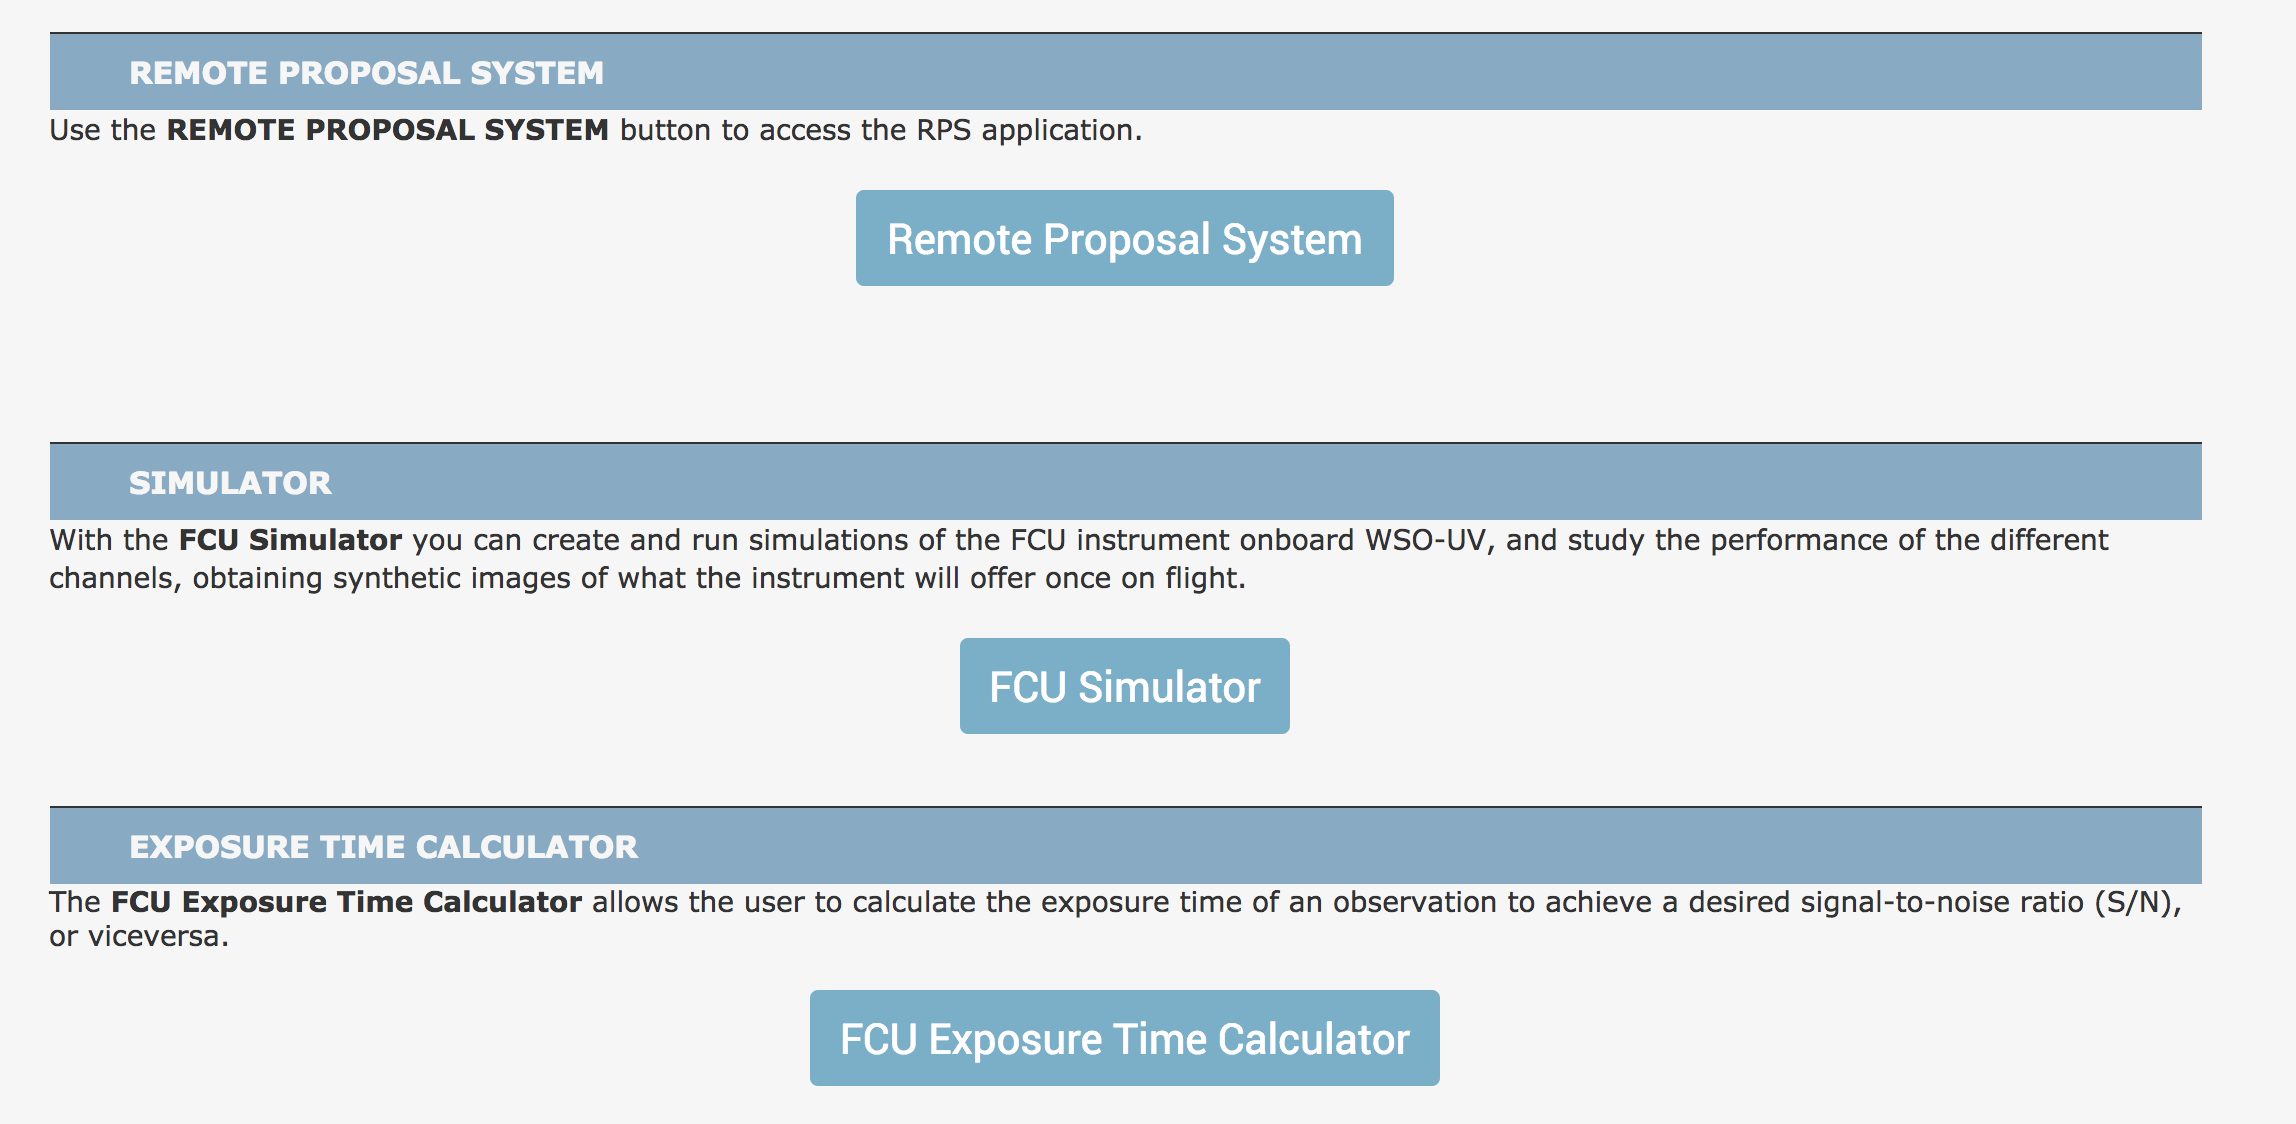 Fig 6. CHOOSE APPLICATION page - RPS, Simulator and ETC access
Additionally, links to
SIMBAD/CDS and to the
MAST ARCHIVE are provided.
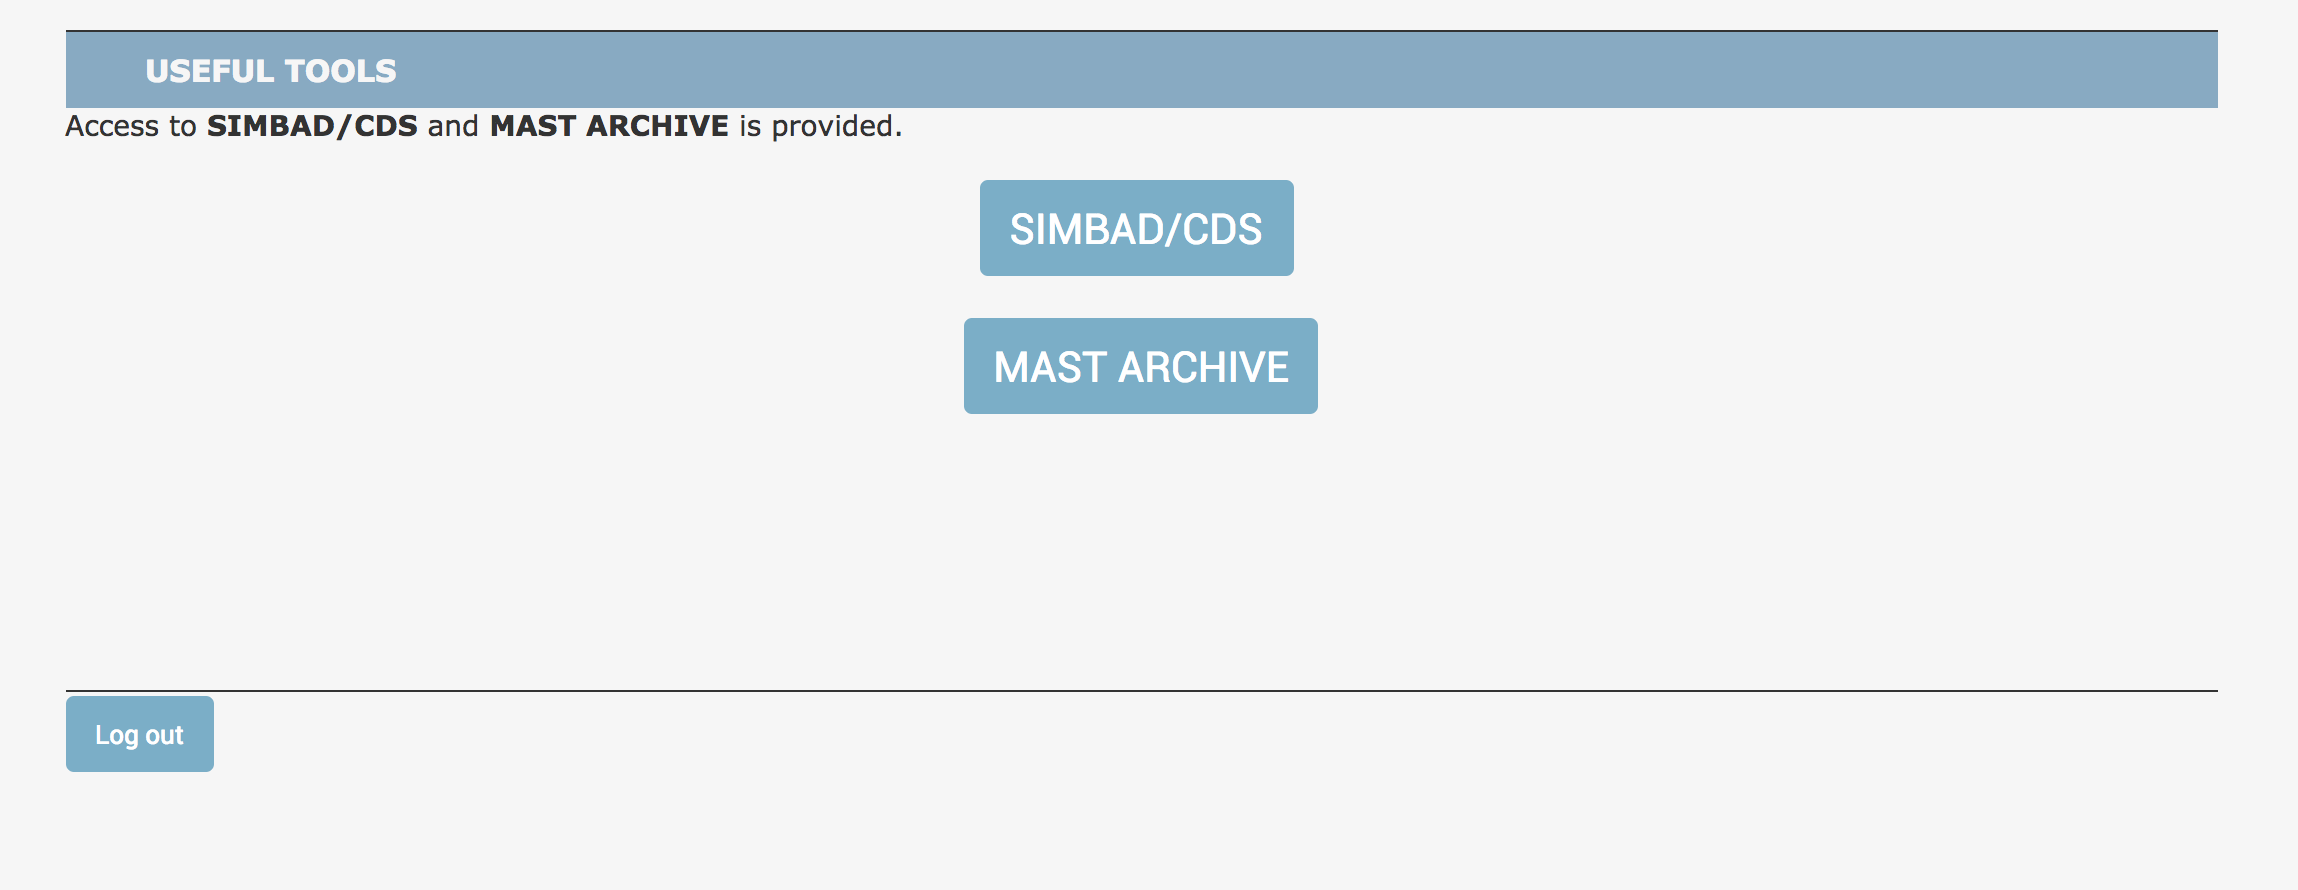 Fig 7. CHOOSE APPLICATION page - SIMBAD and MAST ARCHIVE access
Go up
Fig 7. CHOOSE APPLICATION page - SIMBAD and MAST ARCHIVE access
Go up
3. Remote Proposal System
When entering the RPS application you will access your
RPS USER page. This page serves as the main site from which to create, manage and submit your Proposals.
 Fig 8. RPS USER page
It is divided in two parts: the
CREATE A NEW PROPOSAL section, and the
MANAGE PROPOSALS section below.
3.1 Create a new proposal
Pressing the NEW PROPOSAL button on the USER page will open the CREATE NEW PROPOSAL page.
At the top of the page you can find buttons for:
Returning to the proposal list.
Returning to the edit proposal page.
Verifying the proposal data, as currently found in the system.
Generating a pdf document of the proposal data, as currently found in the system.
Managing the mandatory Justification file.
 Fig 9. NEW PROPOSAL page - header
The PI name appears below the header, and the
MAIN INFORMATION of the proposal can be entered here, divided in:
Title: the title of the proposal (max. 250 characters).
Abstract: a short scientific abstract and justification of the proposal (max. 3000 characters).
Preparatory observations: a short description of the required preparatory observations for this call (max. 3000 characters).
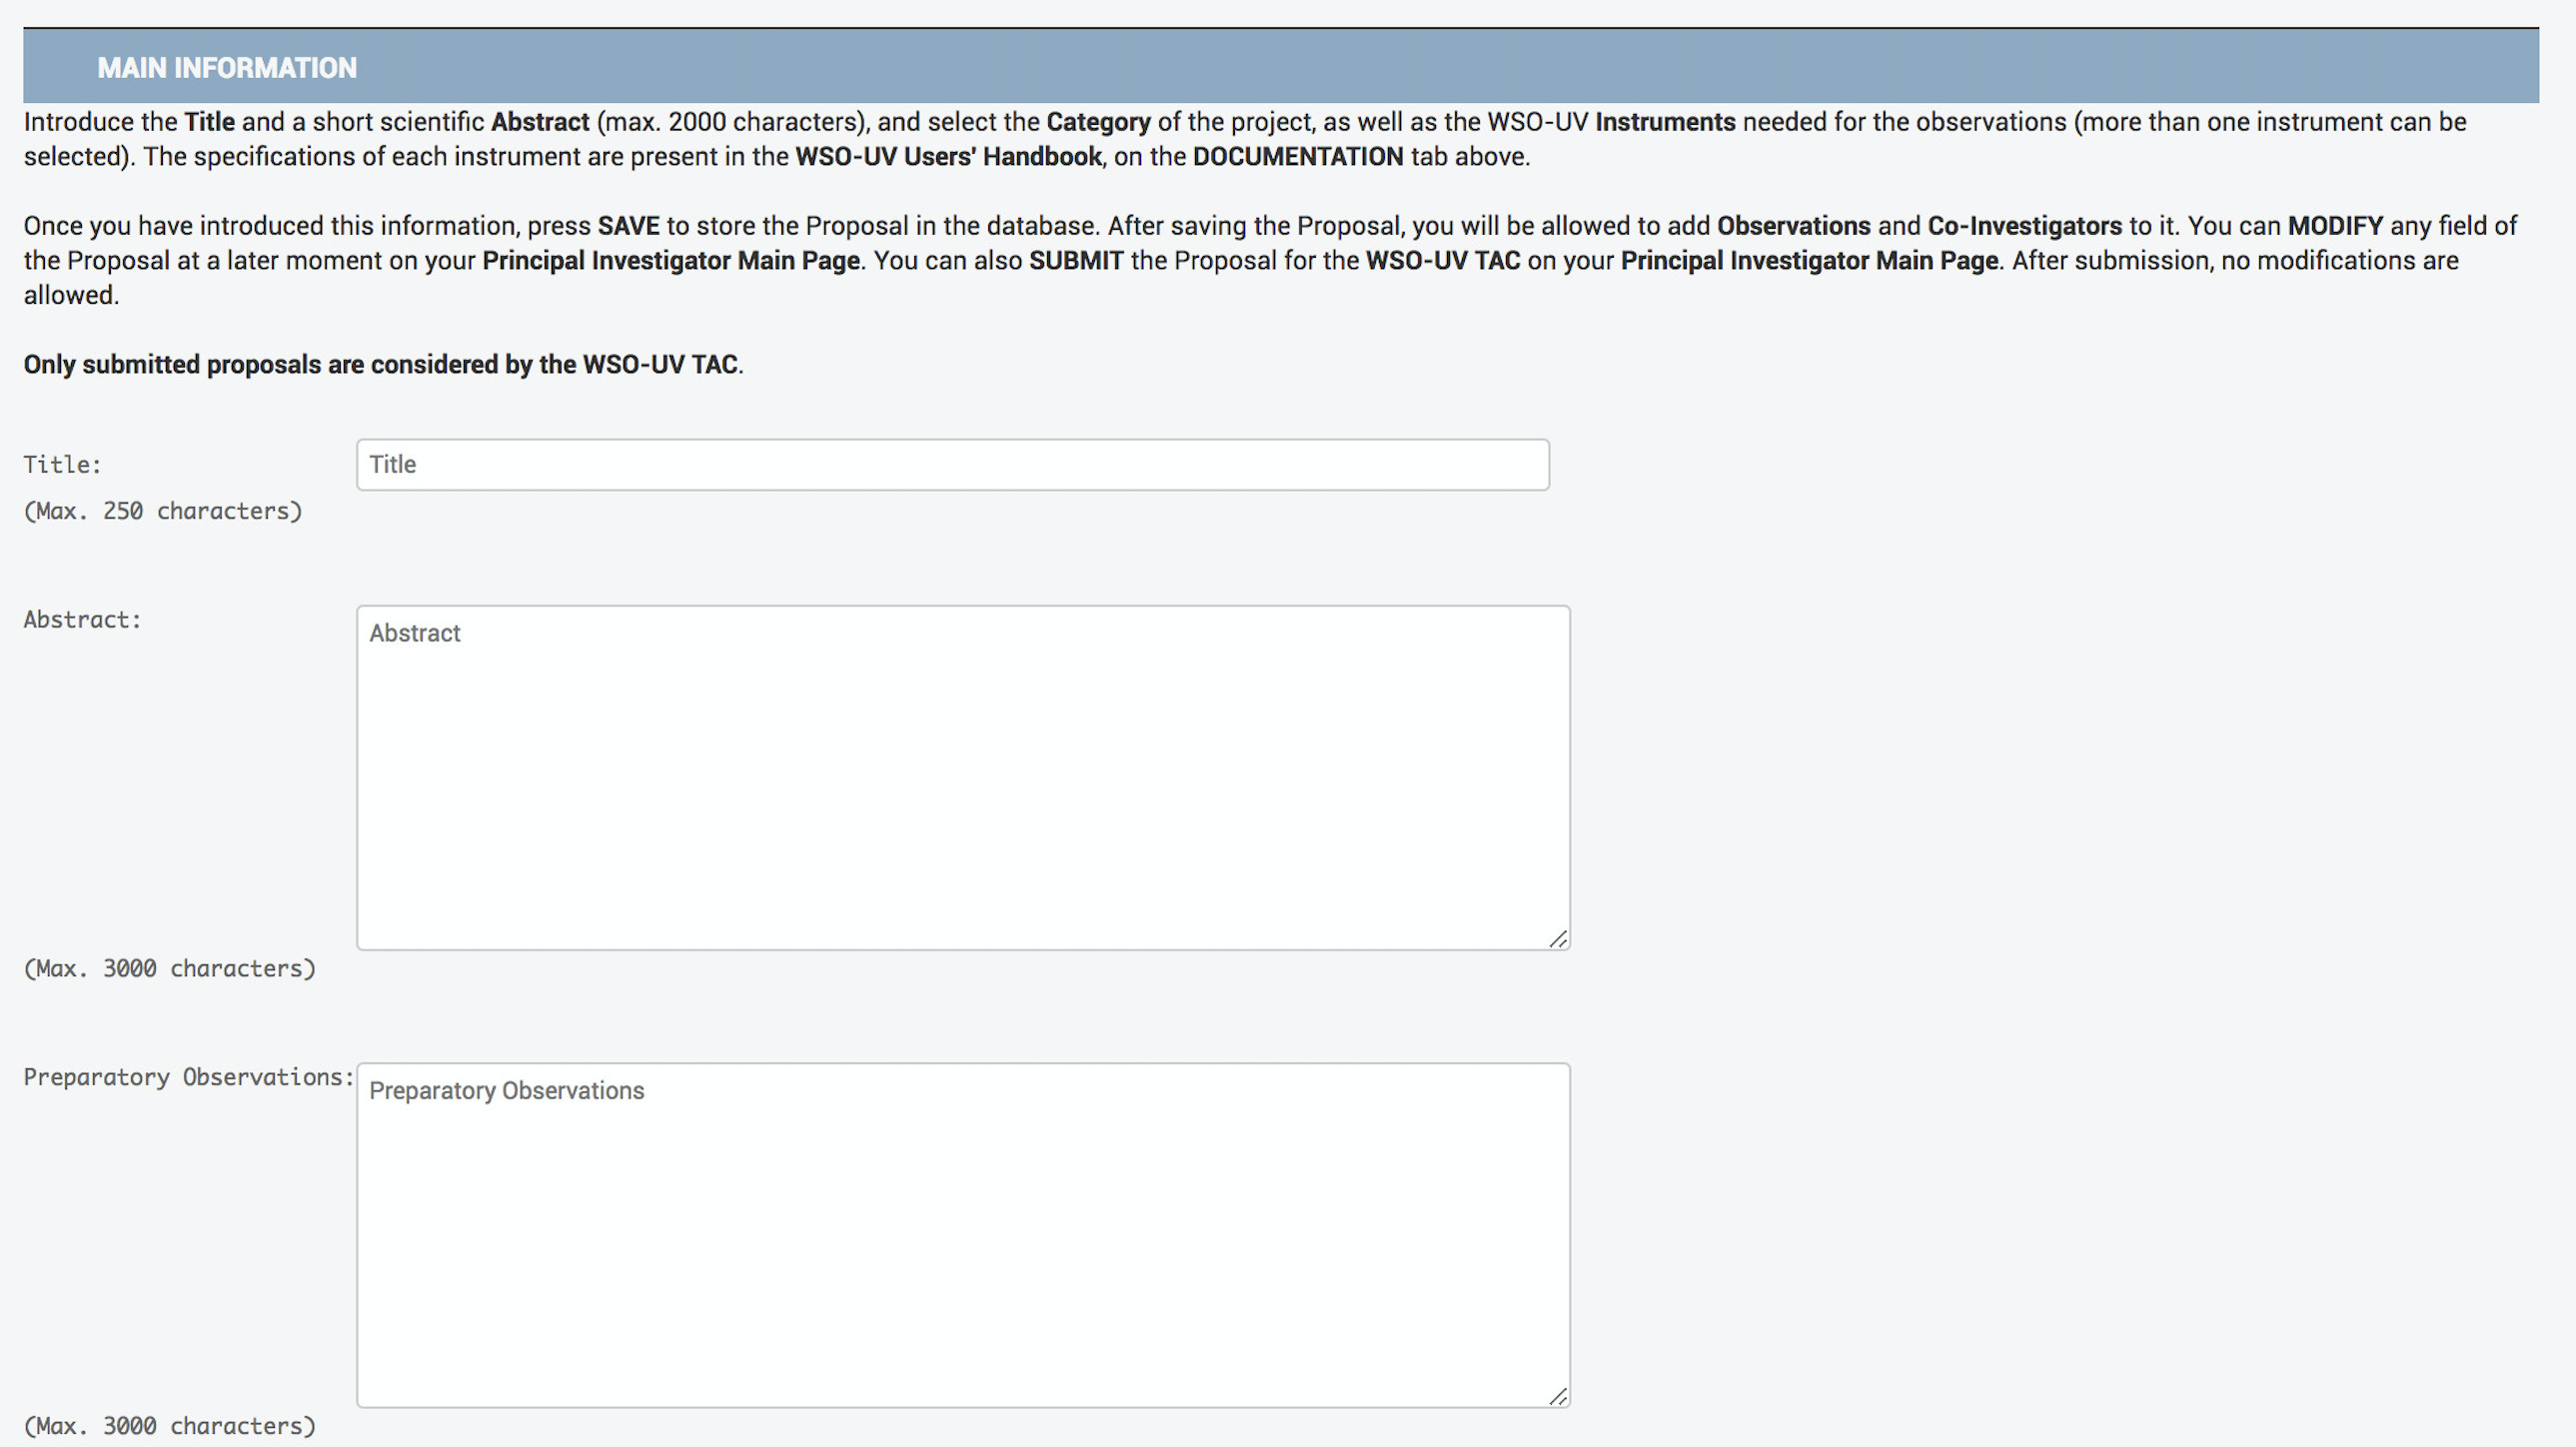 Fig 9b. NEW PROPOSAL page
After filling the previous fields, press the
SAVE button to create a new Proposal in the database.
 Fig 10. NEW PROPOSAL page - correct message
Now you can add any number of
CO-INVESTIGATORS and
OBSERVATIONS to the Proposal, and upload the
JUSTIFICATIONS FILE to the proposal, as well as generating a PDF with all the information of the proposal.
3.1.1 Co investigators
Each CoI should have a FIRST NAME , LAST NAME , and EMAIL . By pressing the ADD COI button, the CoI will be created in the database, linked to the proposal, and her/his data will appear in the CoI list. A CoI can be deleted from a proposal, and the database, by pressing the DELETE button to the right of her/his information.
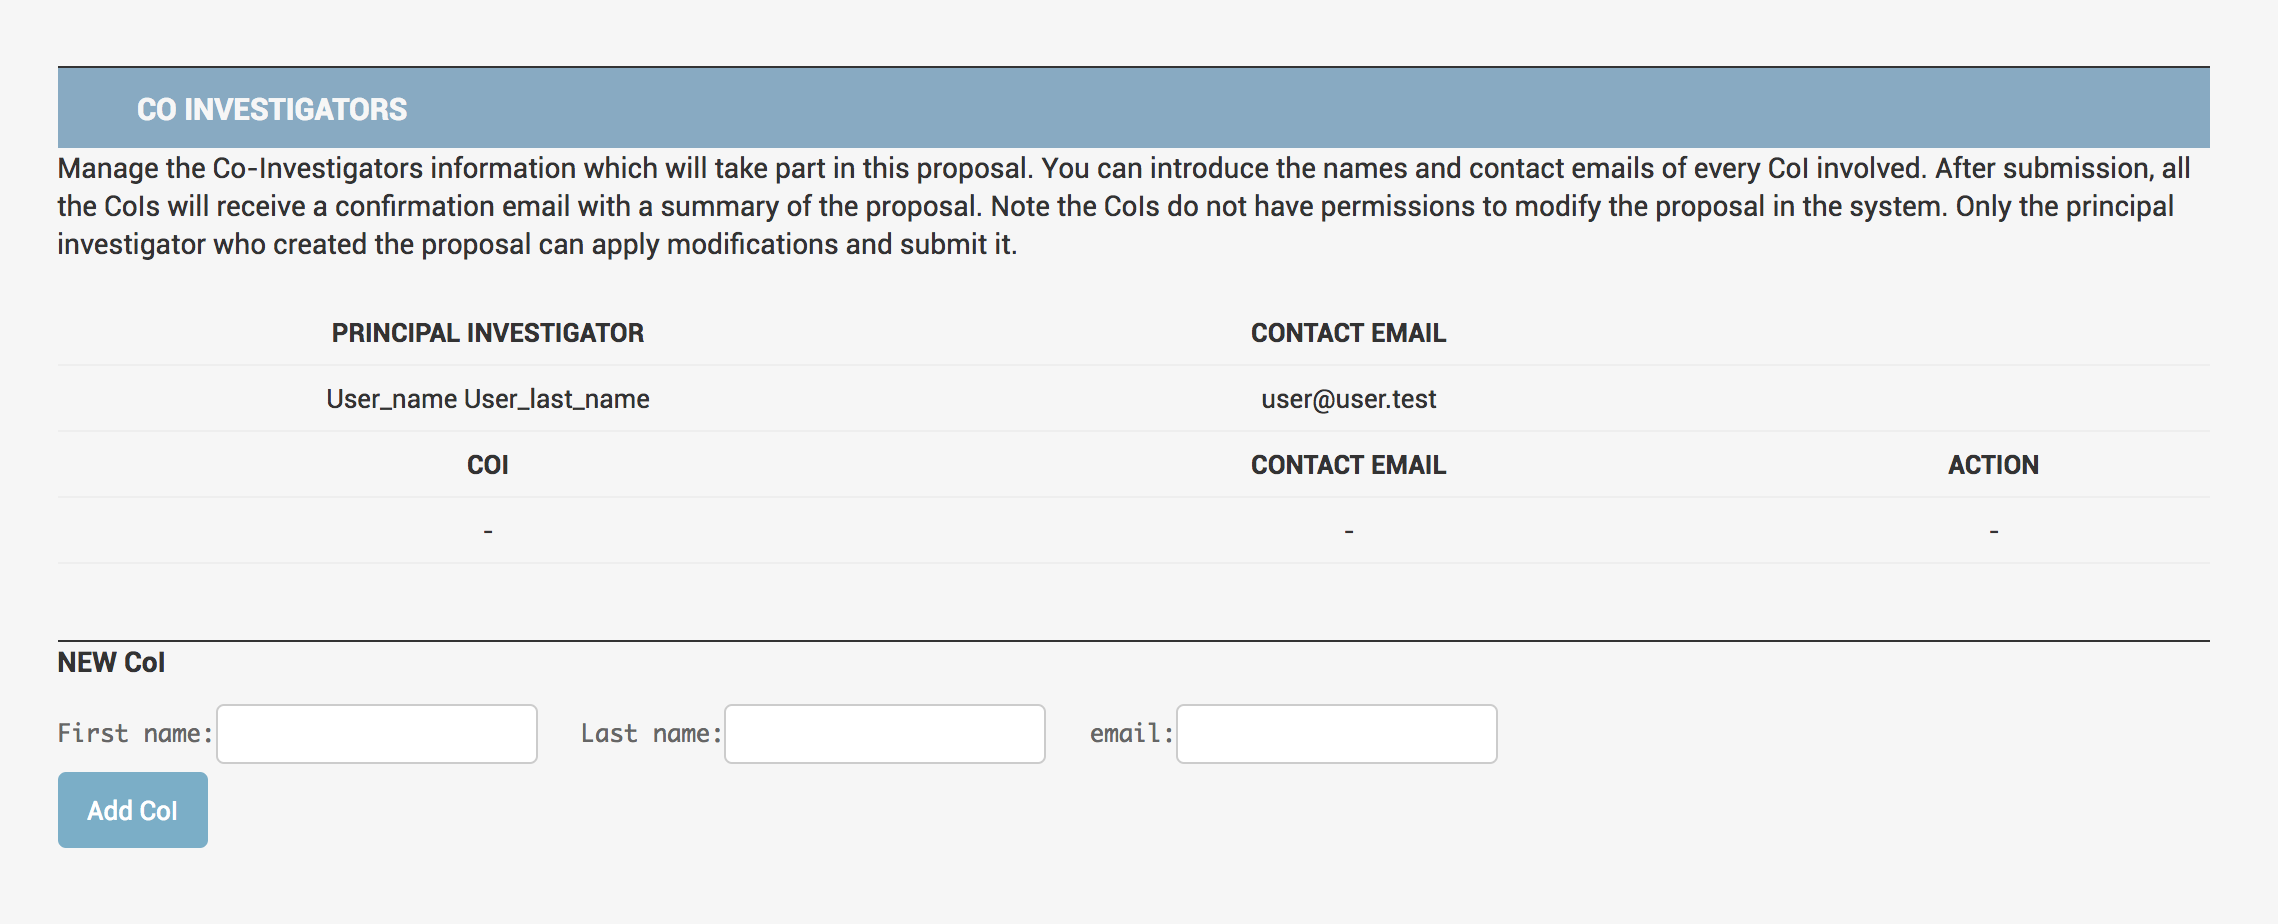 Fig 11. NEW PROPOSAL page - new Co Investigator
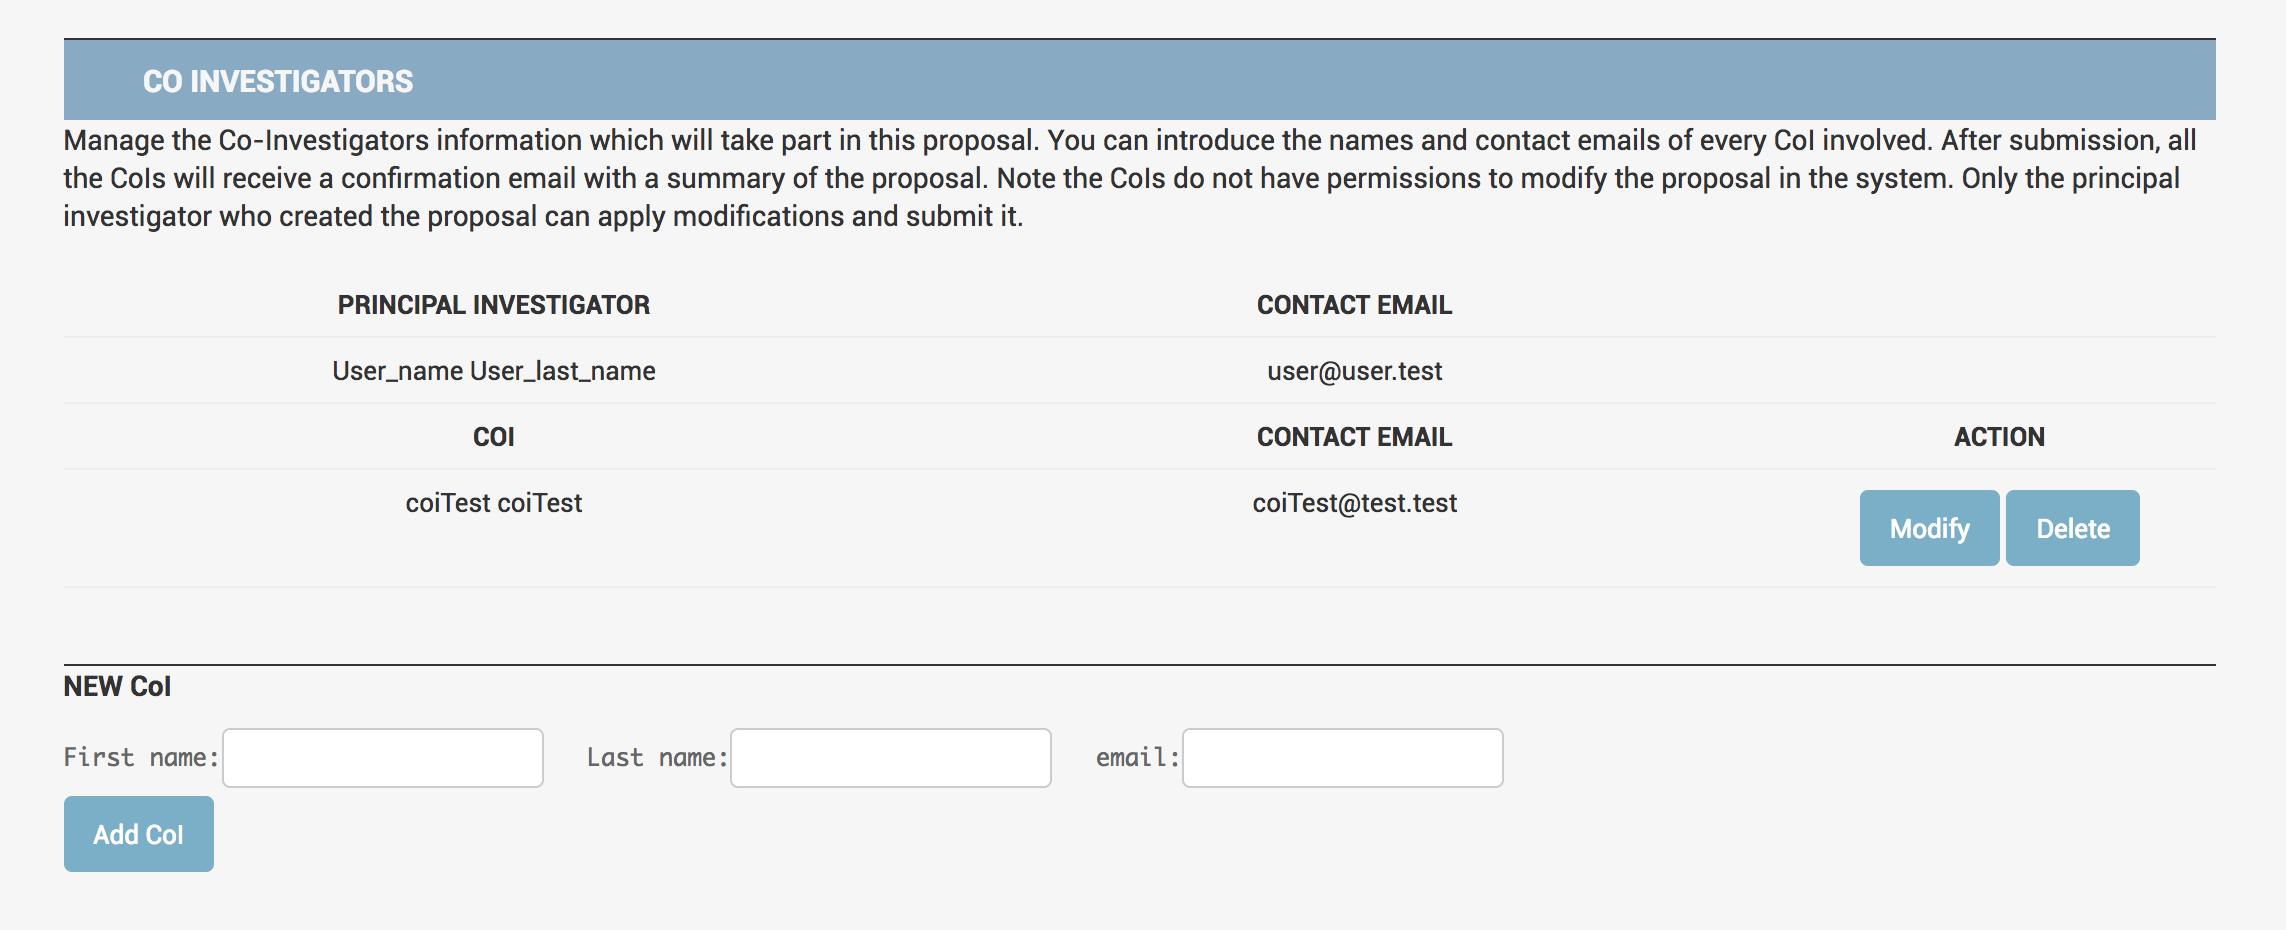 Fig 12. NEW PROPOSAL page - Co Investigator management
3.1.2 Observations
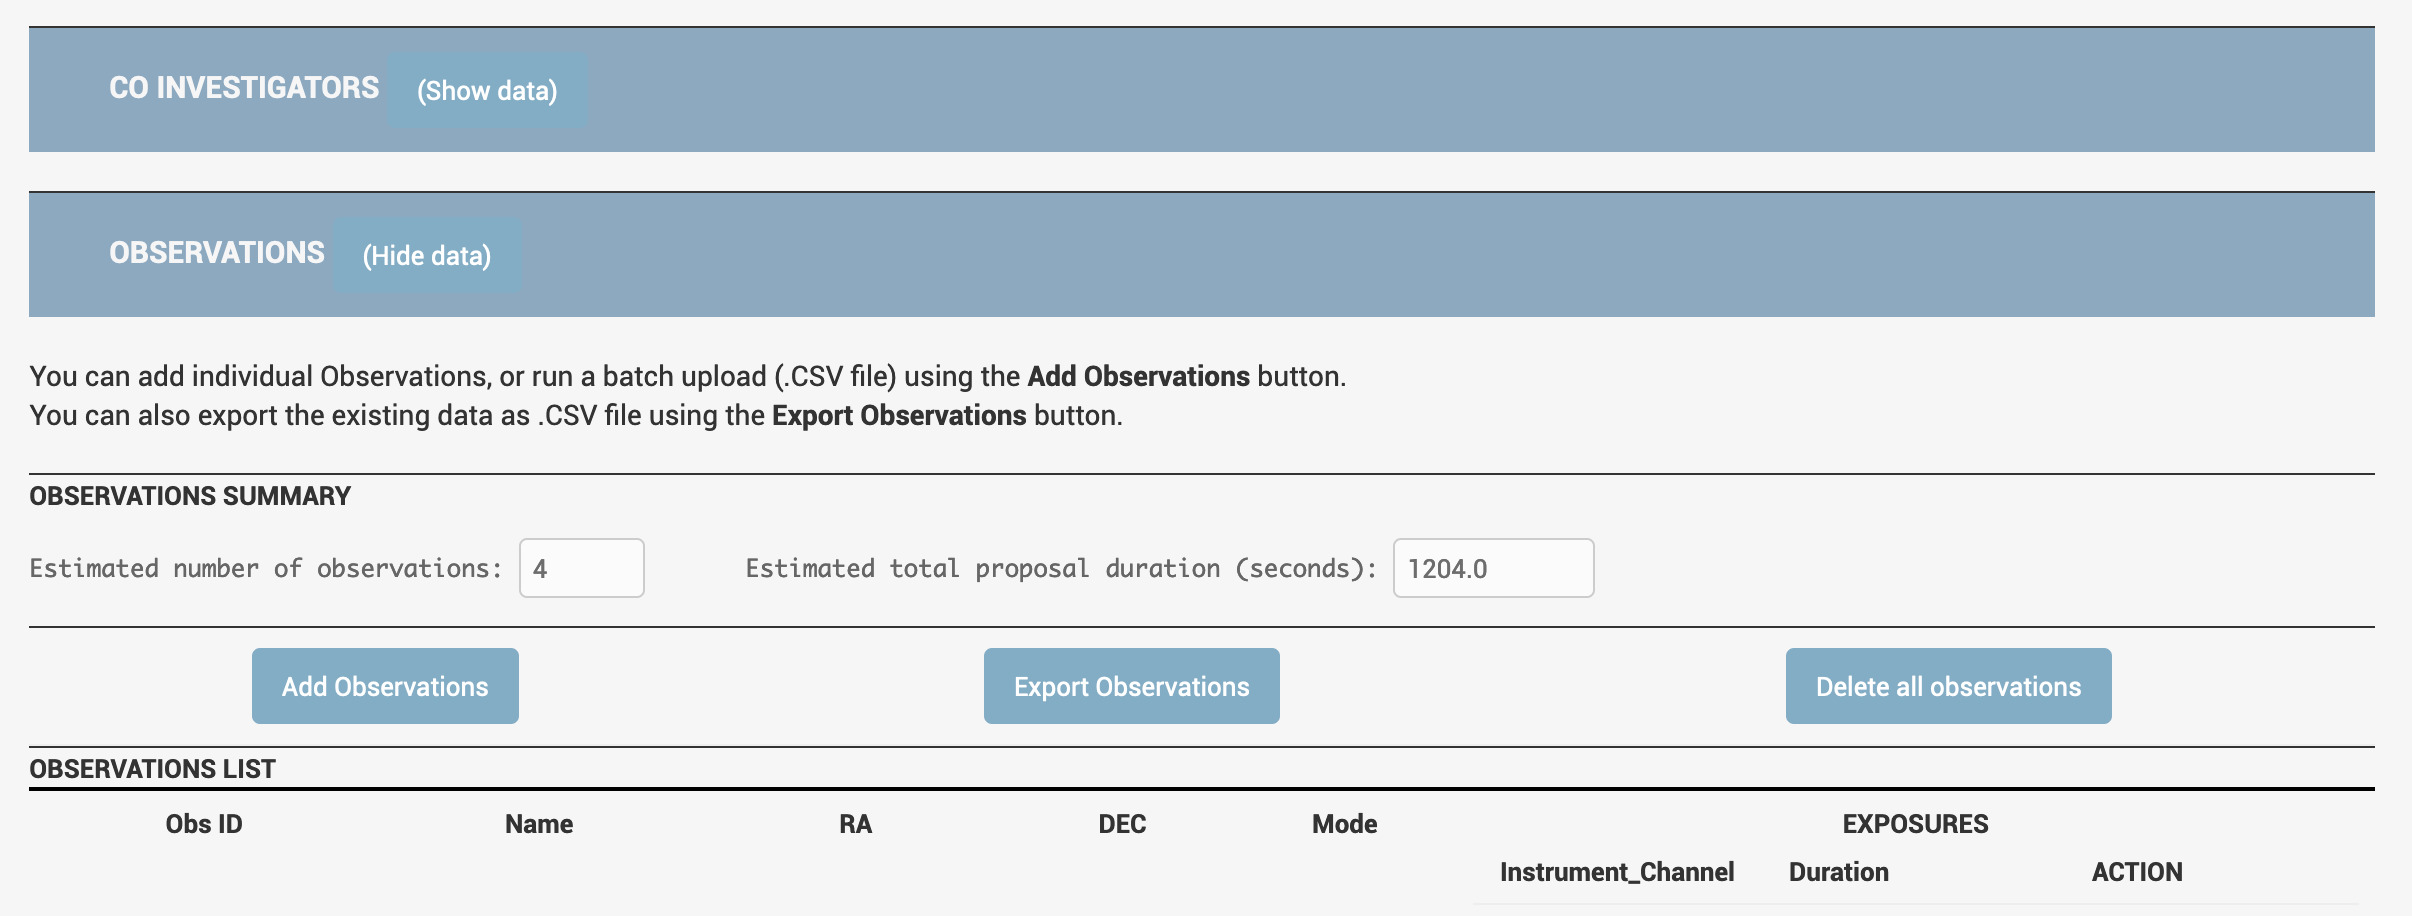 Fig 13. NEW PROPOSAL page - Observations
You can add individual Observations, or run a batch upload (.CSV file) using the Add Observations button.
You can also export the existing data as .CSV file using the Export Observations button.
You can delete all existing observations by using the corresponding button.
Each OBSERVATION is composed by a NAME, RIGHT ASCENSION (RA), DECLINATION (DEC) , MODE of observation and any number of EXPOSURES. To introduce an OBSERVATION, the user has two options:
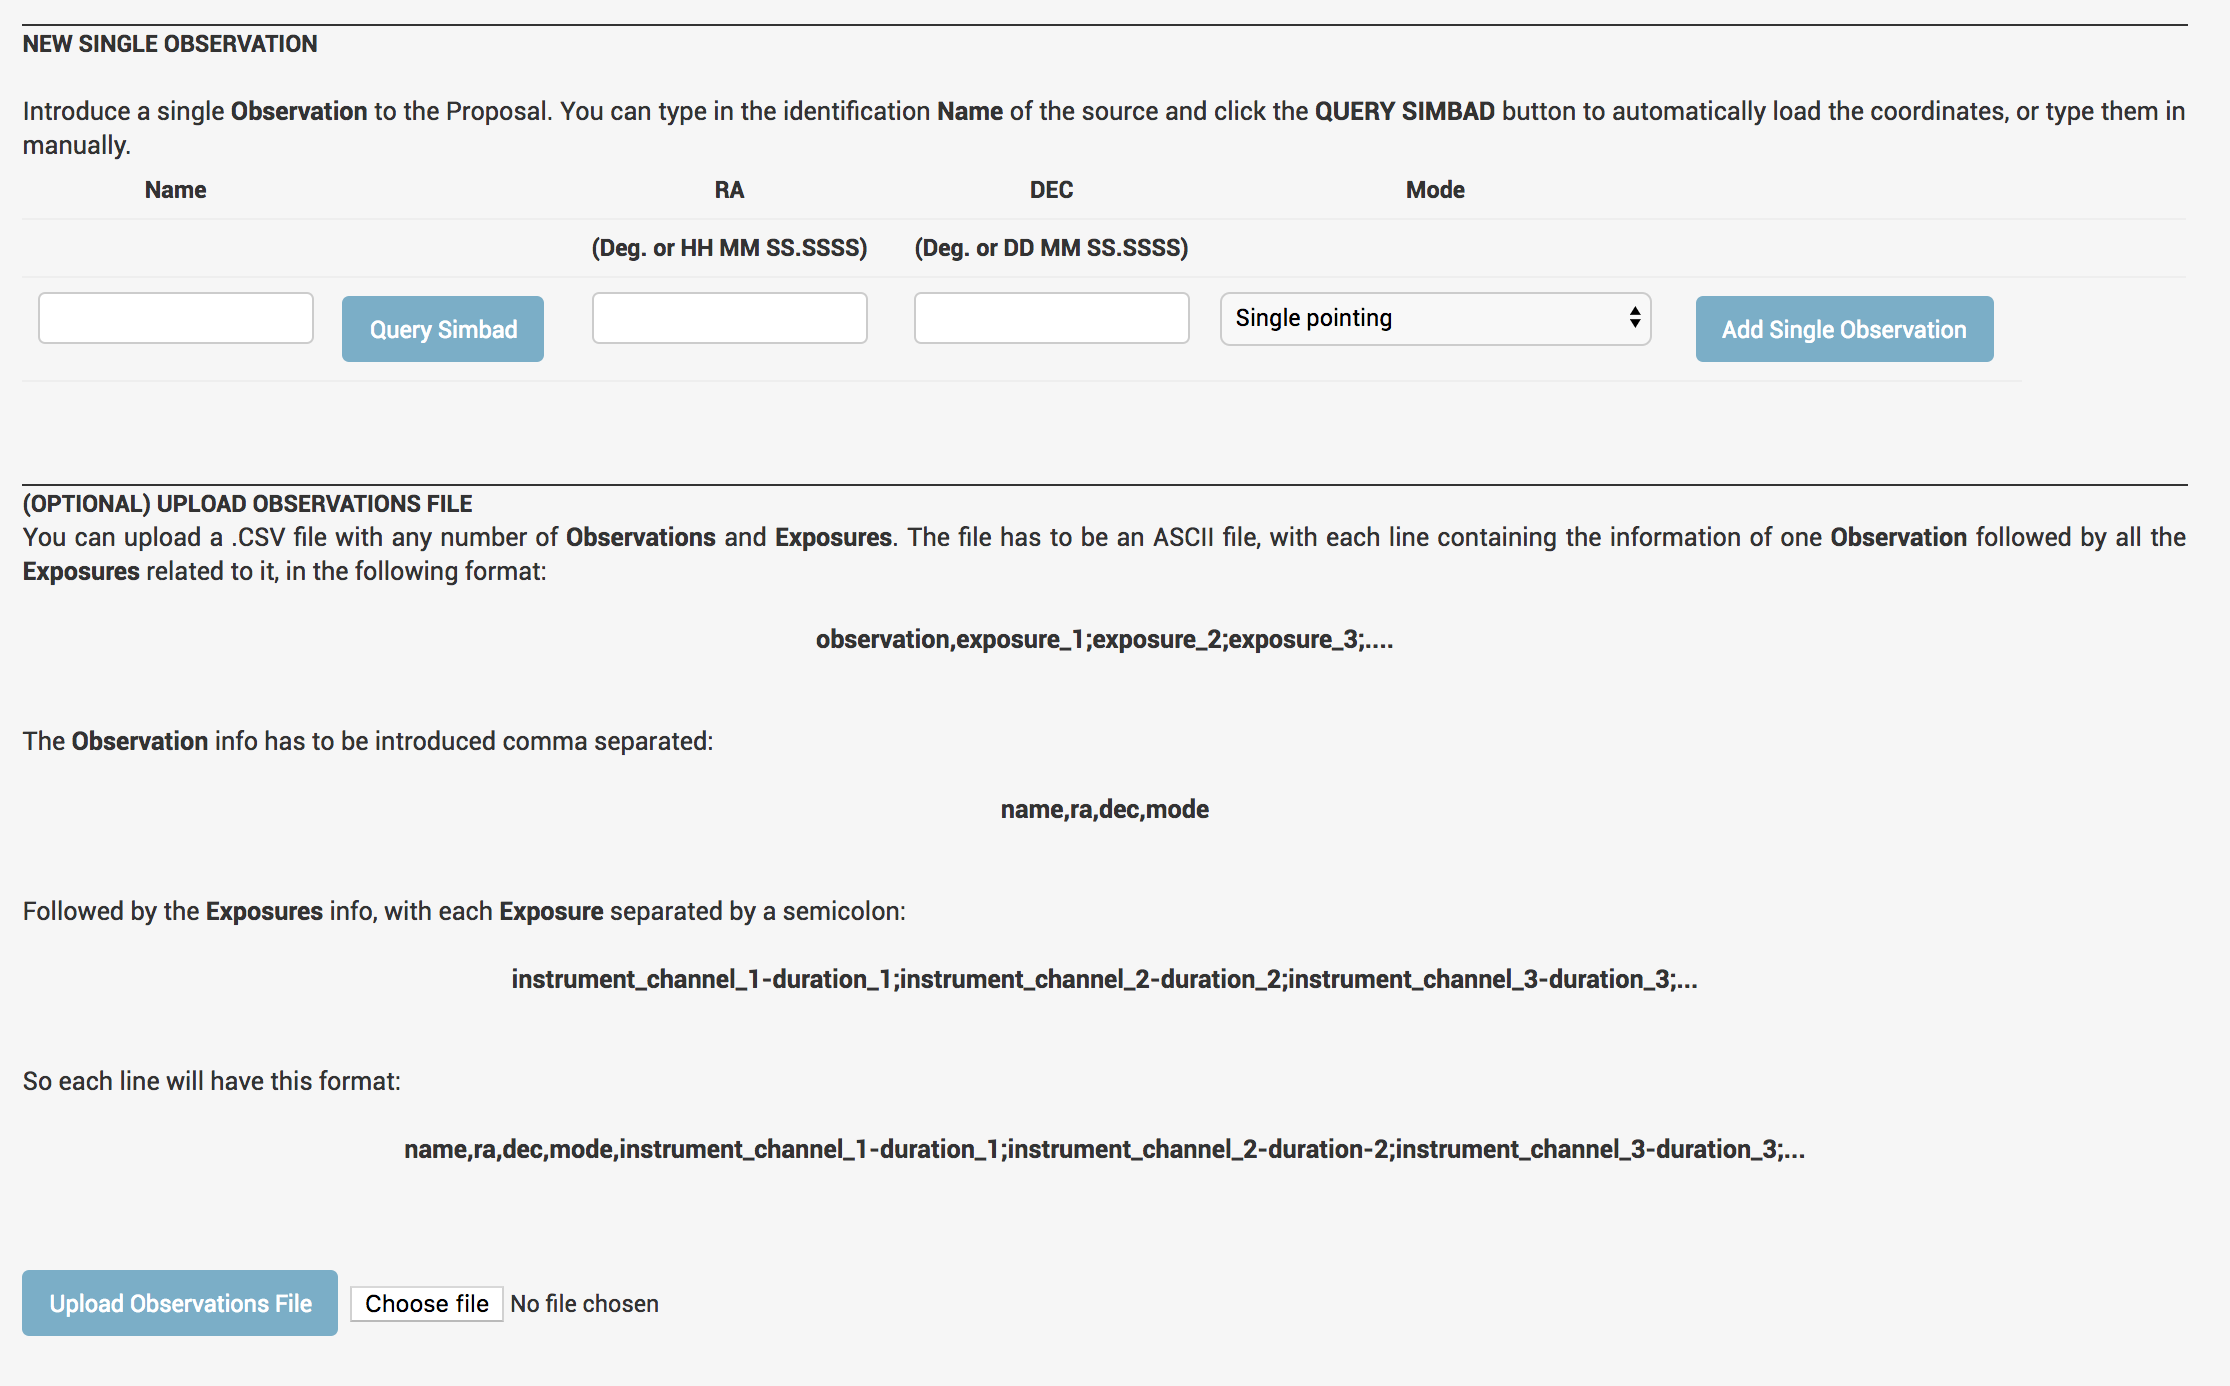 Fig 14. NEW PROPOSAL page - Add observations
NEW SINGLE OBSERVATION: with this option, the user can introduce the data of one unique observation. After typing the NAME of the source to add, the user can manually introduce the COORDINATES, or use the QUERY SIMBAD button to obtain the COORDINATES automatically from the SIMBAD database. They will appear in their corresponding fields. Finally, the user has to select one observation MODE from the ones available. IMPORTANT: after introducing the data of the observation, be it manually or with the QUERY SIMBAD button, the user has to press the ADD SINGLE OBSERVATION button in order to create the OBSERVATION in the database and in the PROPOSAL
 Fig 15. NEW PROPOSAL page - New Single Observation
UPLOAD OBSERVATIONS FILE: optionally, the user may introduce any number of OBSERVATIONS at once, by uploading a CSV file with the required information. The file has to be a text file, each line containing the information of the OBSERVATION, plus all the EXPOSURES desired, with the format:
Fig 15. NEW PROPOSAL page - New Single Observation
UPLOAD OBSERVATIONS FILE: optionally, the user may introduce any number of OBSERVATIONS at once, by uploading a CSV file with the required information. The file has to be a text file, each line containing the information of the OBSERVATION, plus all the EXPOSURES desired, with the format:
observation,exposure_1;exposure_2;exposure_3;....
The Observation info has to be introduced comma separated:
name,ra,dec,mode
Followed by the Exposures info, with each Exposure separated by a semicolon:
instrument_channel_1-duration_1;instrument_channel_2-duration_2;instrument_channel_3-duration_3;...
Like this:
name,ra,dec,mode,instrument_channel_1-duration_1;instrument_channel_2-duration-2;instrument_channel_3-duration_3;...
Once the OBSERVATION has been introduced in the PROPOSAL, it will appear like this in the application:
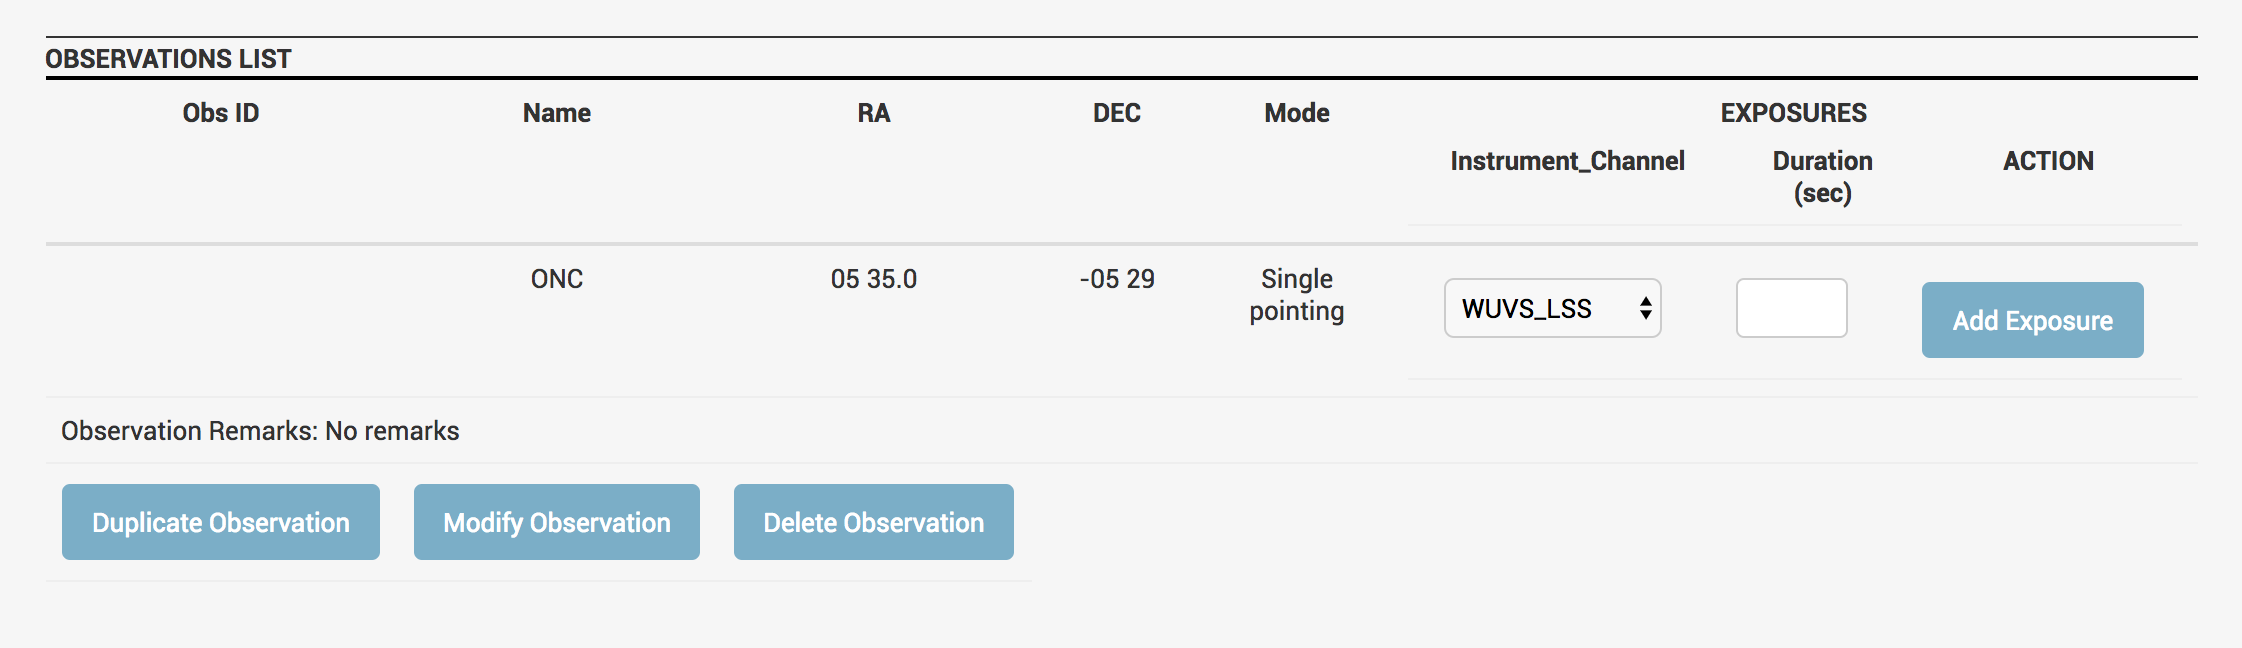 Fig 16. NEW PROPOSAL page - Manage Observation
New Exposures can be added to the Observation using the ADD EXPOSURE button, previously introducing a valid Exposure Duration (in seconds):
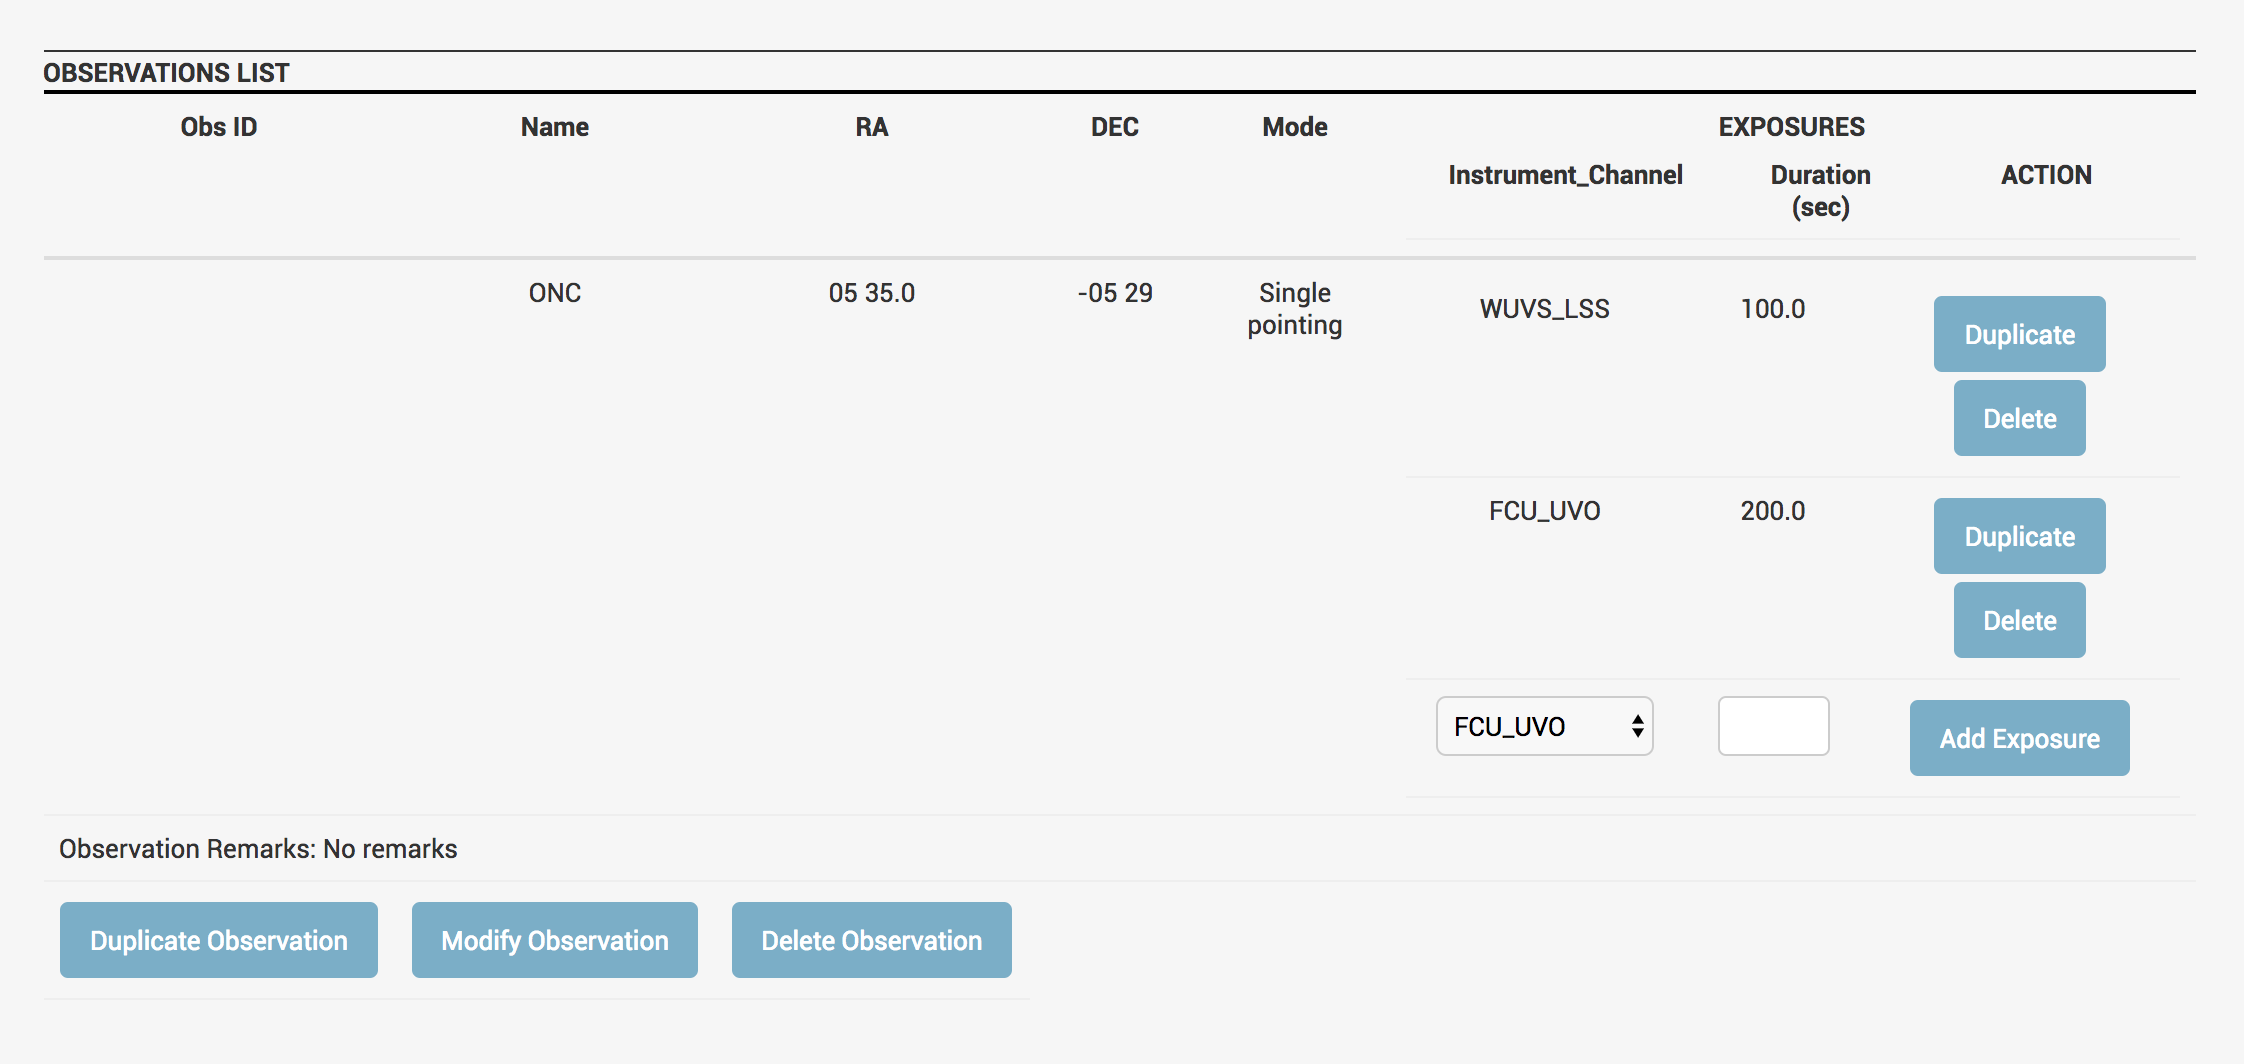 Fig 17. NEW PROPOSAL page - New Exposure
The Observation can be modified with the MODIFY OBSERVATION button, which will allow the user to modify any of its fields, as well as adding any REMARKS to the Observation. The user can save the changes in the database by pressing the SAVE CHANGES button.
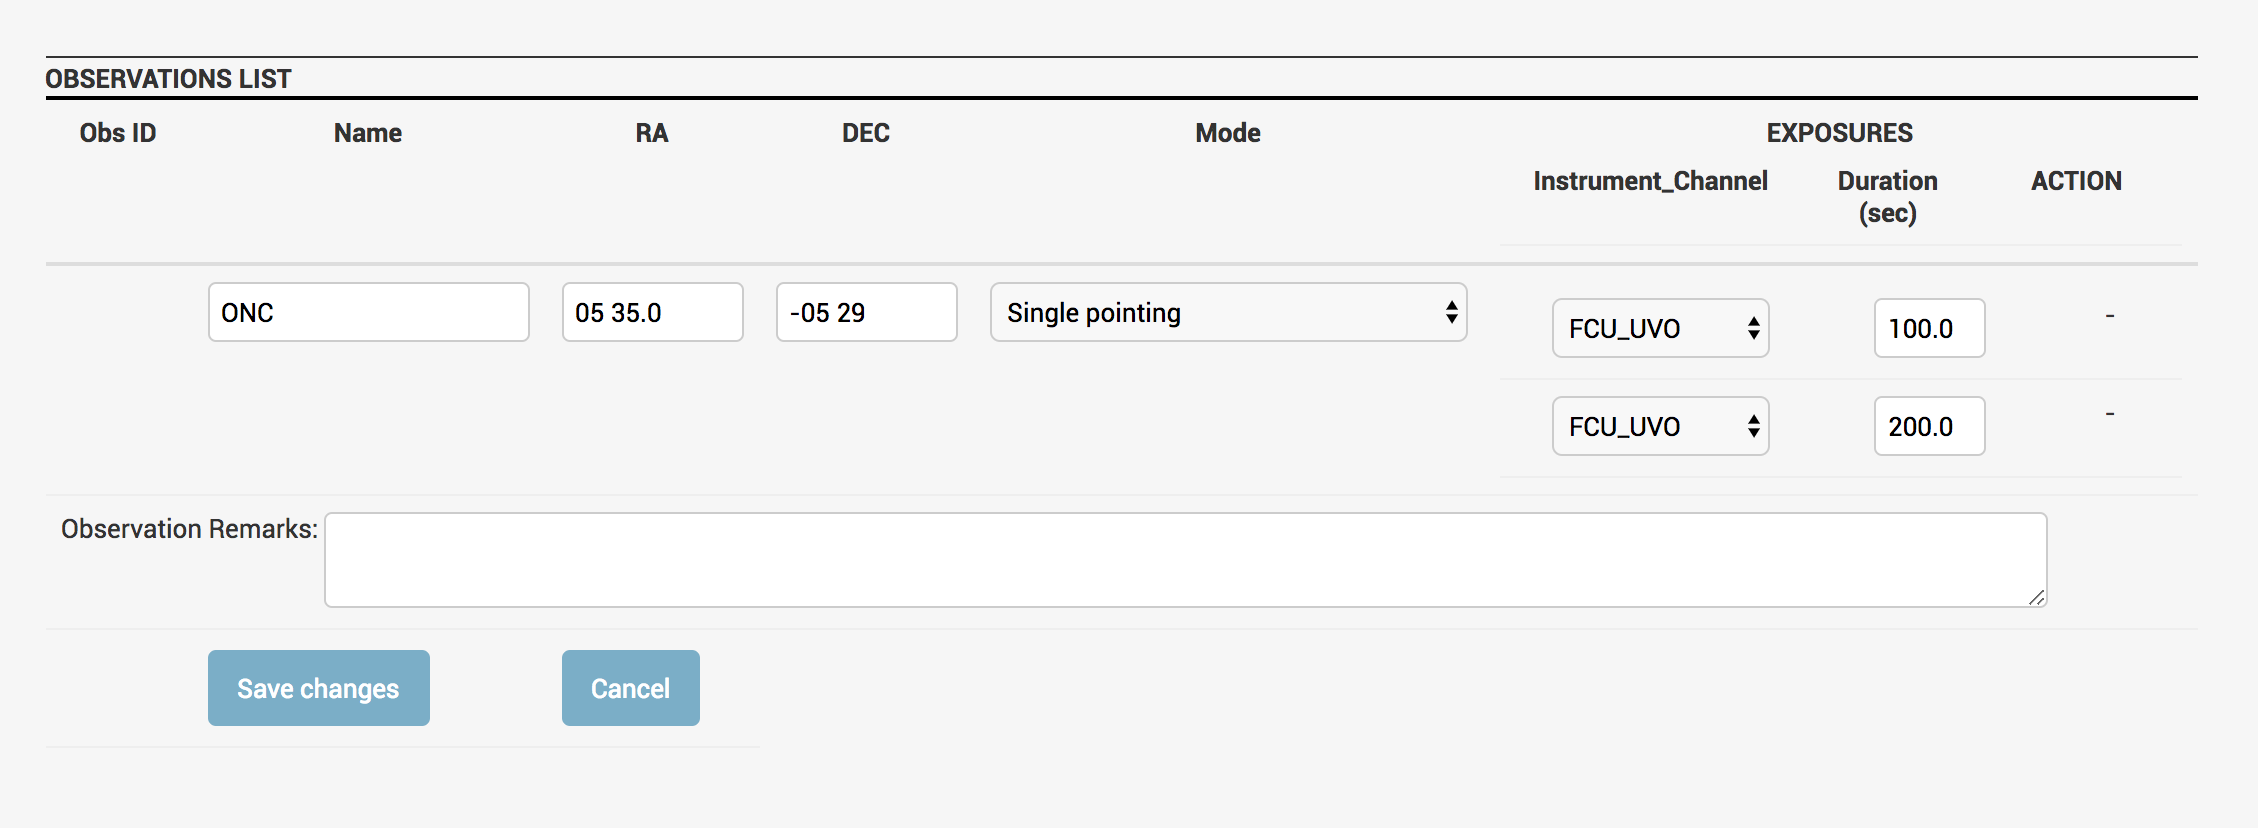 Fig 18. NEW PROPOSAL page - Modify Observation
The total number of observations as well as the total exposure time will appear at the bottom of the OBSERVATIONS section.
 Fig 19. NEW PROPOSAL page - Number of observations and total exposure duration
3.1.3 Justification file
A JUSTIFICATION FILE needs to be uploaded to the PROPOSAL. You can use the LATEX TEMPLATE available for the WSO-UV proposals, with the DOWNLOAD TEMPLATE button.
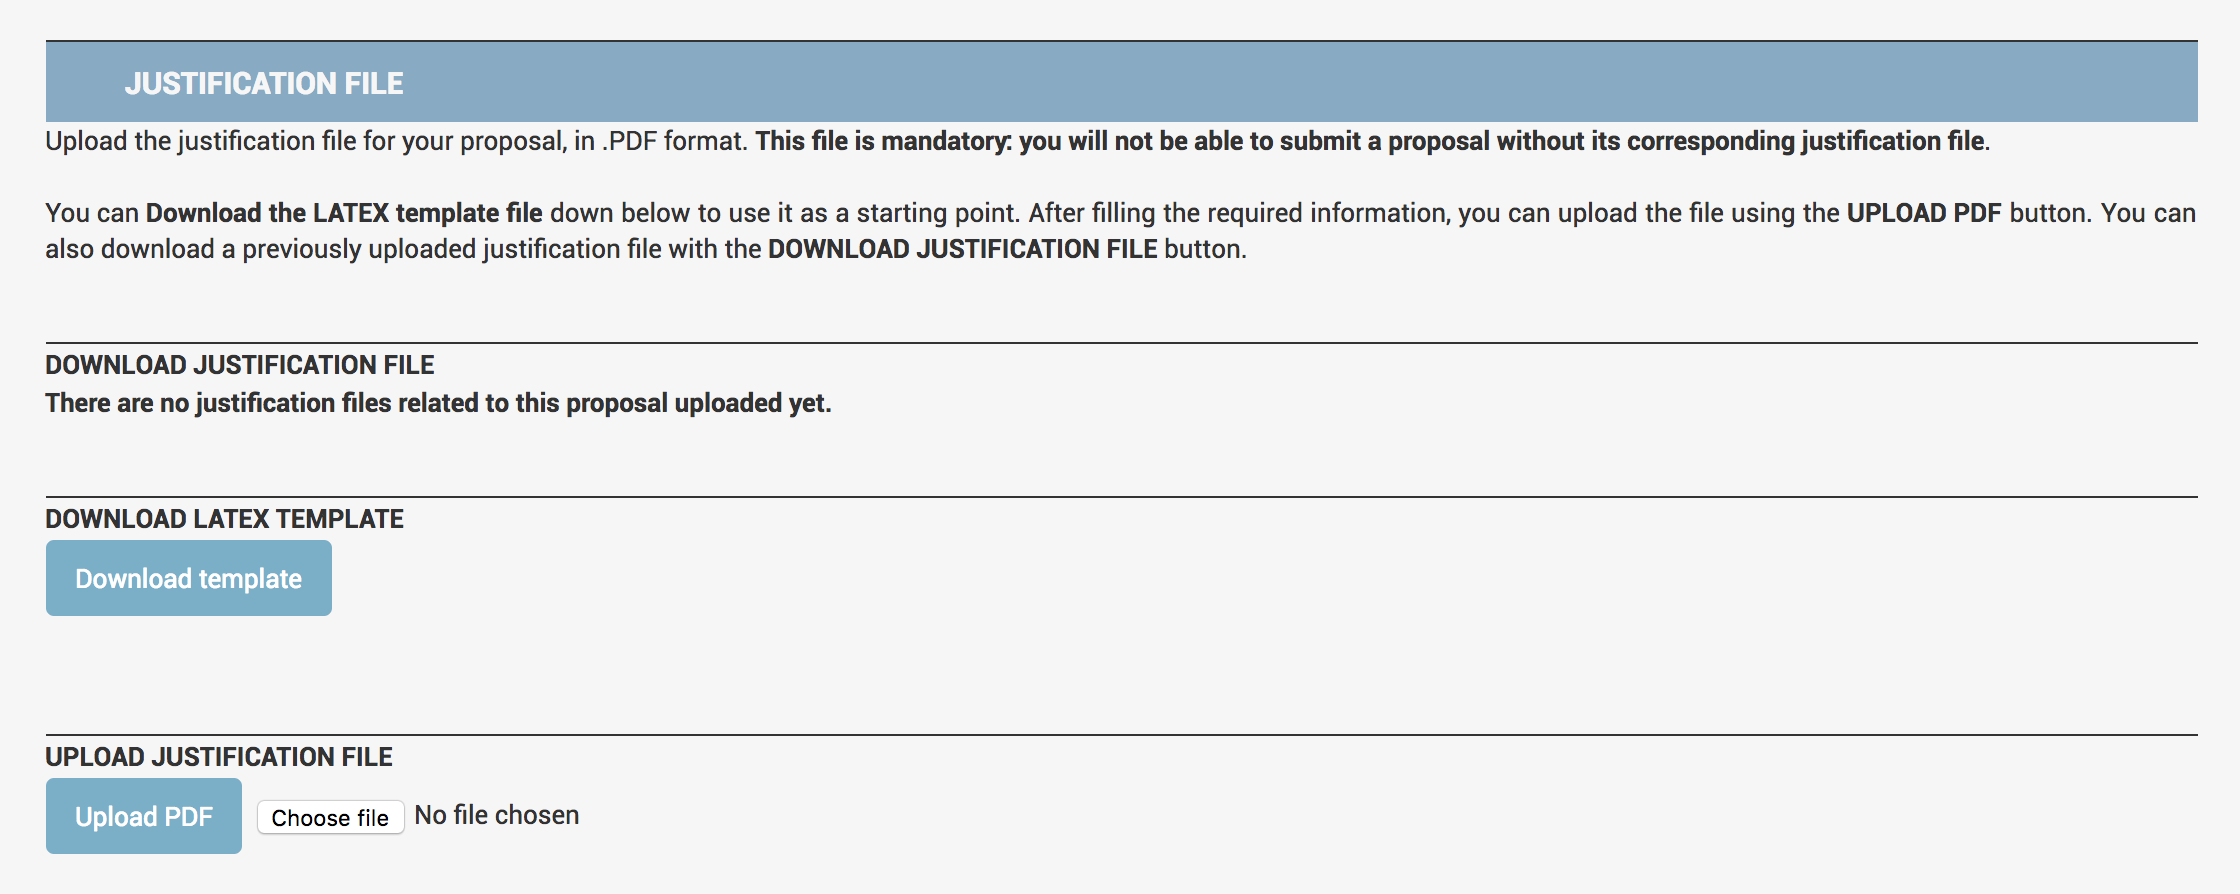 Fig 20. NEW PROPOSAL page - Justification File
Once you have edited your JUSTIFICATION FILE, you can upload it to the system with the UPLOAD PDF button. The file will be renamed as prop_id_JUSTIFICATION_FILE.pdf, and it will appear in the page, for the user to download, with the DOWNLOAD JUSTIFICATION FILE button.
 Fig 21. NEW PROPOSAL page - Justification File Download
3.1.4 Generate PDF
Finally, the user can generate a PDF summary of the information introduced in the proposal, with the GENERATE PDF button. A new tab will open, where the user can see the following document:
 Fig 22. NEW PROPOSAL page - Generate PDF
NOTE: if the user wants to download this document in PDF format, it has to be manually saved with the .PDF extension, as the system does not automatically save the file in this format.
The generated PDF looks like this:
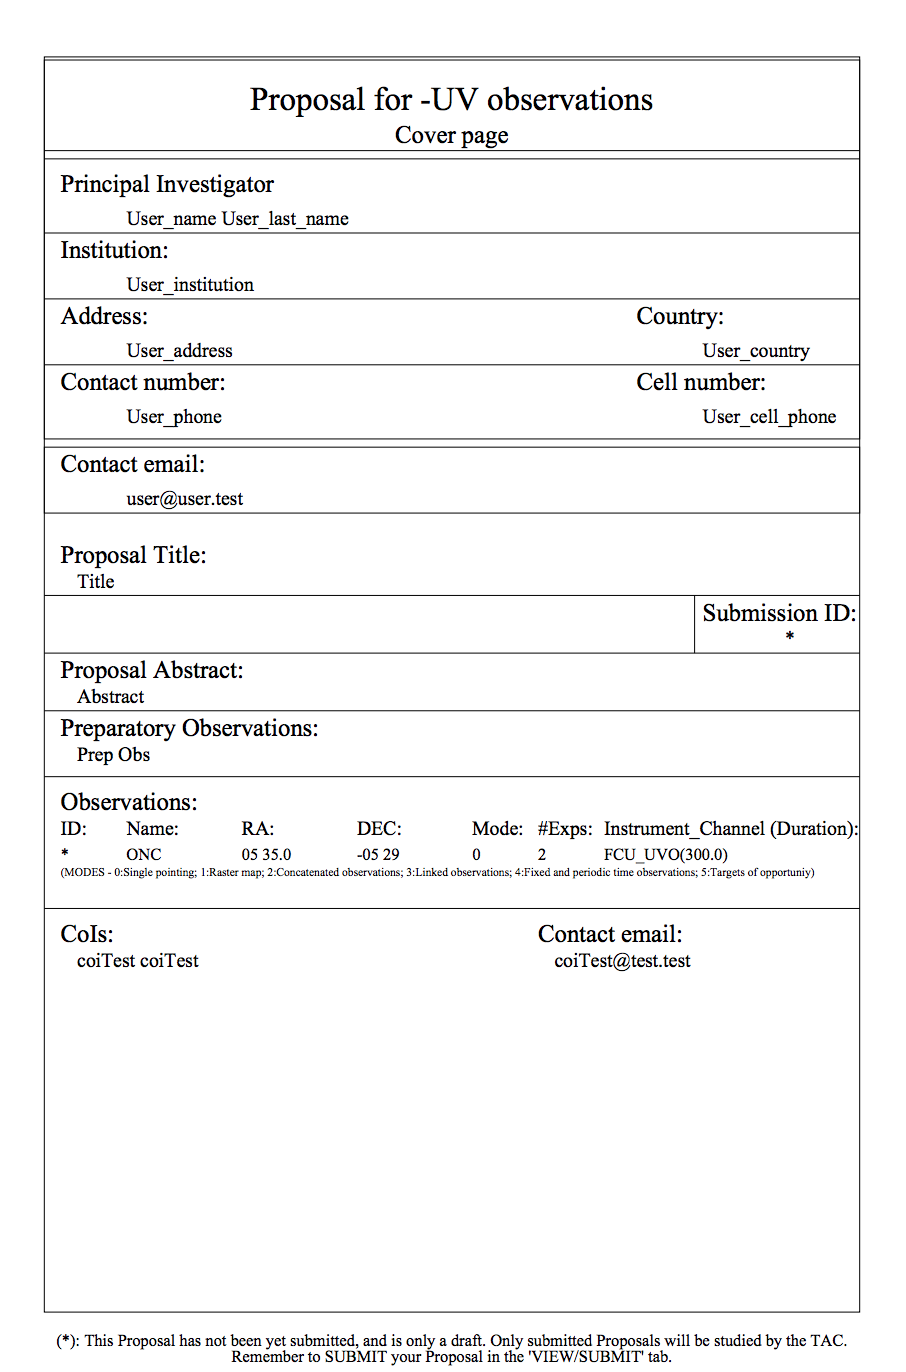 Fig 23. NEW PROPOSAL page - Generated PDF
Go up
3.2 Inspect/Modify/Delete/Clone a proposal
Once a proposal has been created, it will appear on the USER page, under the PROPOSALS CREATED BY THE USER tab, showing its information:
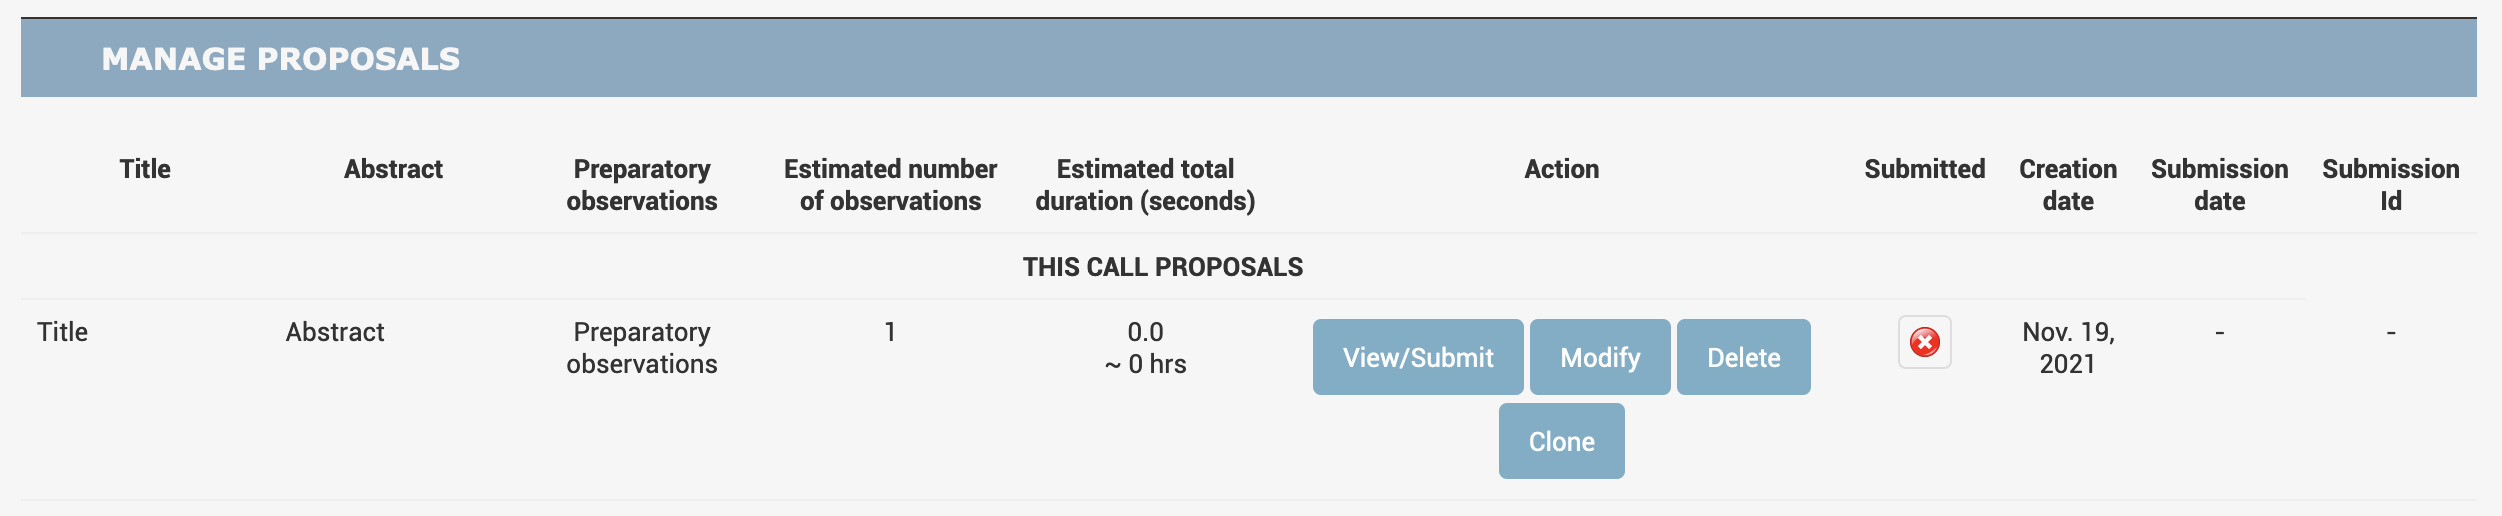 Fig 24. USER page - Manage Proposals
As well as the different actions that the user can do with it: VIEW/SUBMIT , MODIFY , DELETE and CLONE :
VIEW/SUBMIT: when pressing the VIEW/SUBMIT button, the VIEW proposal page will appear, in which all the information of the Proposal will appear, displayed on disabled fields. The user can generate a PDF file of the proposal by pressing the GENERATE PDG button. No modifications can be applied to the proposal on this page. Pressing the SUBMIT PROPOSAL button will start the submission process (view Submit Proposal below).
MODIFY: all the information introduced on the proposal can be modified by pressing the MODIFY button. The MODIFY proposal page will appear, in which the Title, Abstract, and Preparatory Observations of the proposal can be edited. The user can save the modifications by pressing the SAVE MODIFICATIONS button.
Co-Investigators and Observations can be added and deleted, as well.
DELETE: the user can delete any proposal previously created, by pressing the DELETE button. All the data, as well as any CoI, Observation and Justification File included in the proposal, will be erased from the database.
CLONE: the user can copy any proposal previously created, by pressing the CLONE button. All the data, as well as any CoI, Observation and Justification File included in the proposal, will be copied onto a fresh new proposal, ready for edition.
A cloned proposal could serve as backup while the user is modifying data, or could serve as template for new proposals.
Go up
3.3 Submit Proposal
For a proposal to be considered by the
WSO-UV TAC it has to be submitted to the system. To do so, the user has to press the
SUBMIT button on the
VIEW/SUBMIT tab on her/his
RPS User Page.
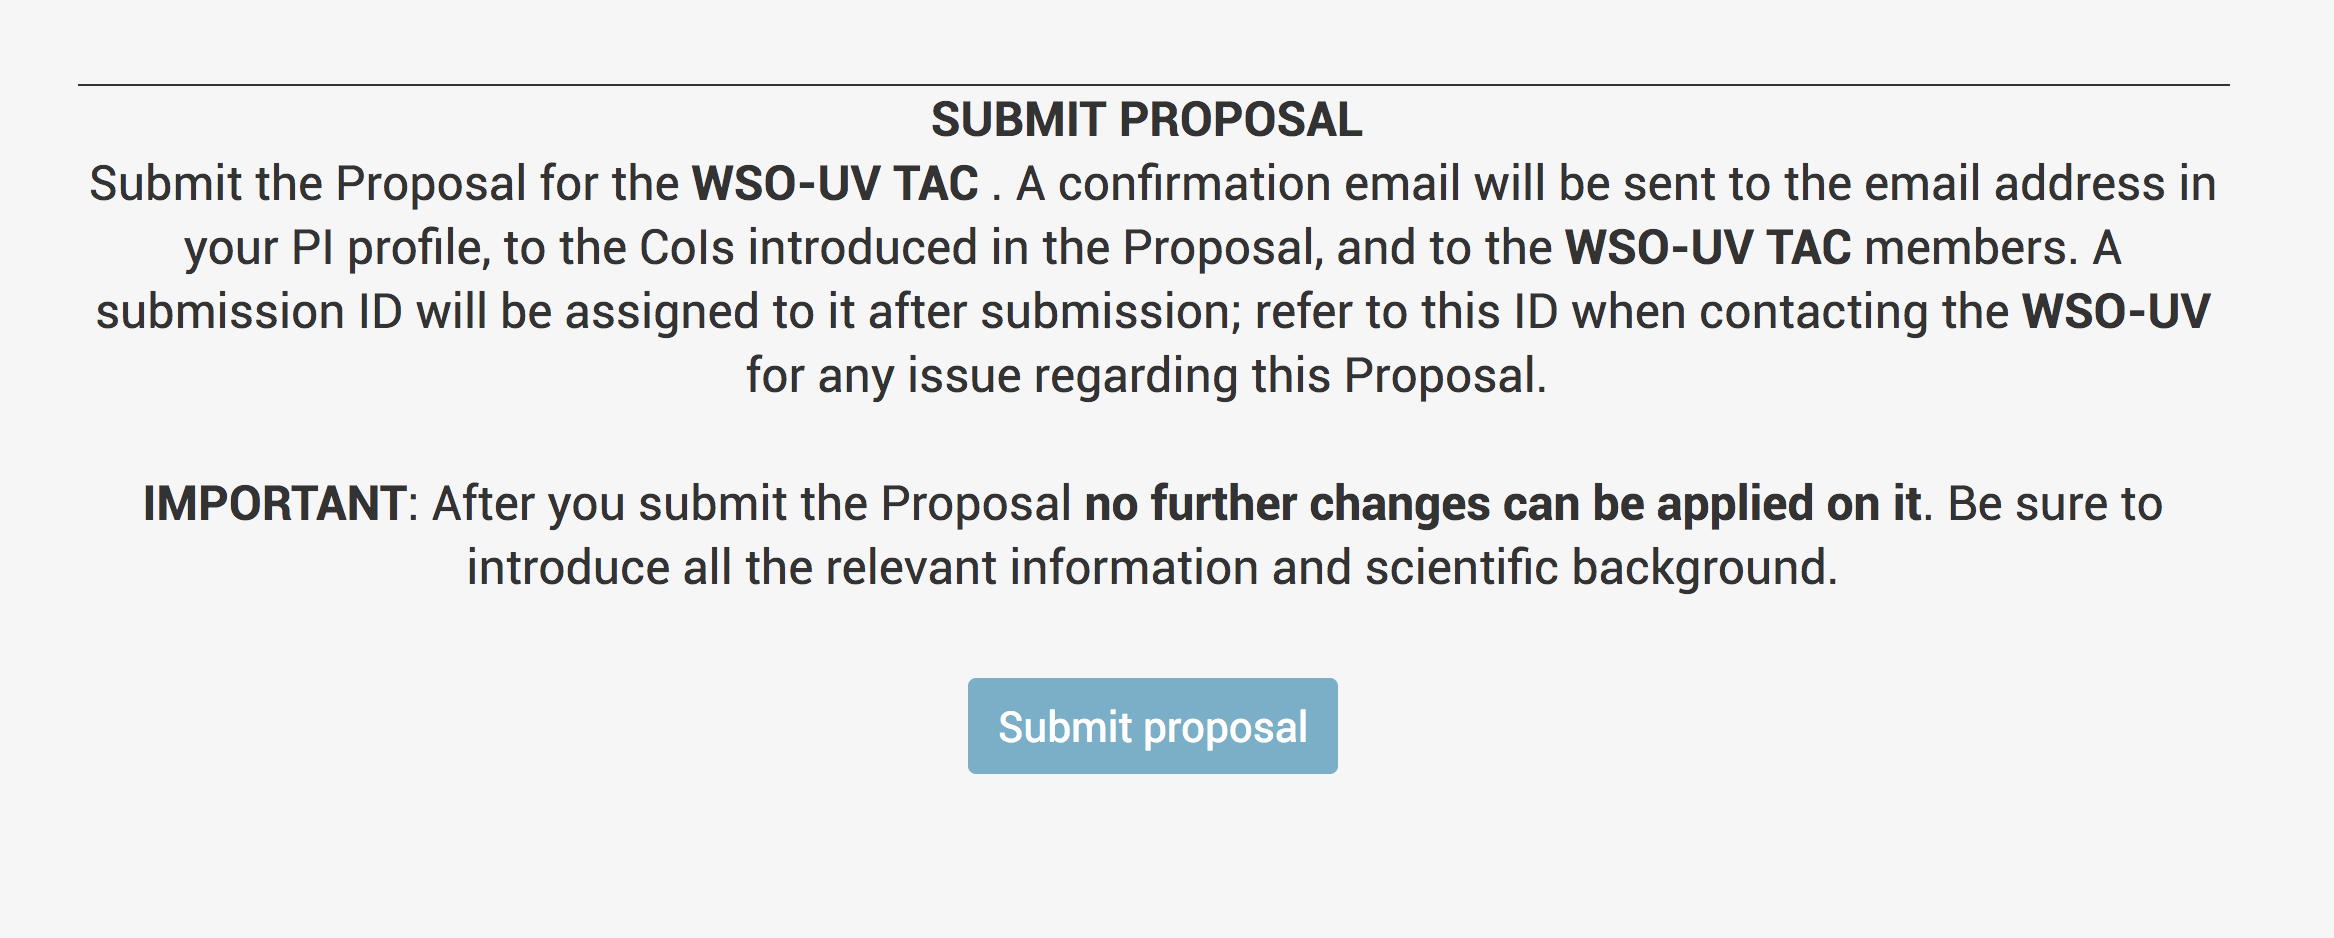 Fig 25. VIEW PROPOSAL page - Submit Proposal
When submitting a proposal, a number of processes will take place:
Confirmation emails will be sent to: the Principal Investigator, all the Co-Investigators listed on the proposal, and the WSO-UV TAC. A Cover Page will be generated in PDF format and attached to every email. If a user does not receive this confirmation email, please contact the WSO-UV HelpDesk at wsouvhelpdesk@ucm.es.
A submission ID will be assigned to the proposal. This ID will be the reference number by which the user will indicate the proposal when addressing any issues about it to the WSO-UV TAC.
The current date will be assigned as the SUBMISSION DATE.
No further modifications will be allowed for that proposal.
 Fig 25. VIEW PROPOSAL page - Submitted Proposal
 Fig 26. USER page - Submitted Proposal
Go up
Fig 26. USER page - Submitted Proposal
Go up